This is an old revision of the document!
Table of Contents
User Guide
Social Factory is our Joomla solution for a modern and dynamic social networking website. It gives users all the common interaction functions and more.
In this guide we will have a look at some of the features our component provides for the users.
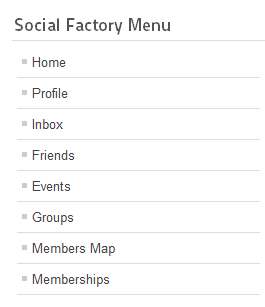
This is the regular display of the user menu which also contains some submenus that are not visible in the screenshot.
(!) It is very important to know that depending on your membership you can be limited on some things which are set by the administrator like the number of friends, photos and videos added, messages and interactions sent, events, joining or creating groups. Purchasing a Membership Plan can remove those restrictions !
Creating an Account
To start, you will have to do create an account, click on "Create an account" on the Login page or module, and add the required details.
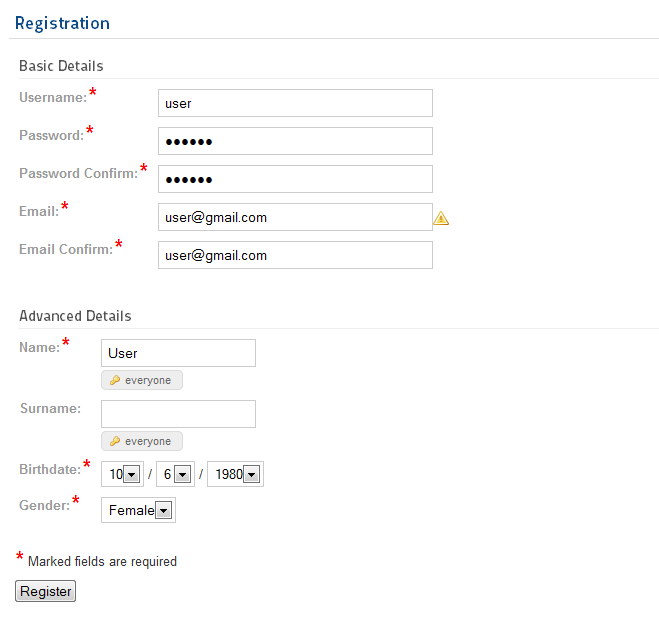
For this guide we will be using the Social Factory's registration form.
First things are the basic account details, write the username, a valid email address and password.
Below these are the advanced details - Social Factory profile specific, the marked fields are required. Here you can add your name, surname, gender (male, female, couple or other) and your birth date.
Click on Register when you are done.
Your account must be approved before being able to login. This is either done by you via email or the admin, according to the Joomla configuration.
Profile
By clicking on "Profile" view your details. Each user can also comment on their profile.
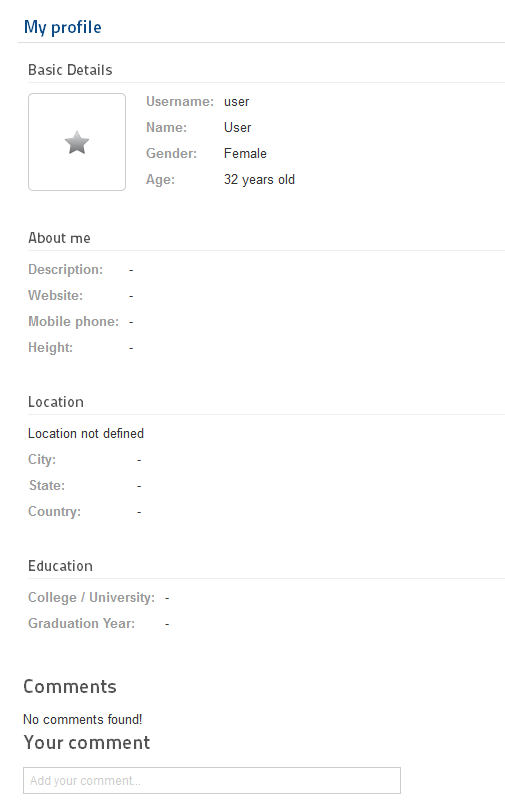
This section has 3 submenus, click on Edit to modify your profile details.
Edit
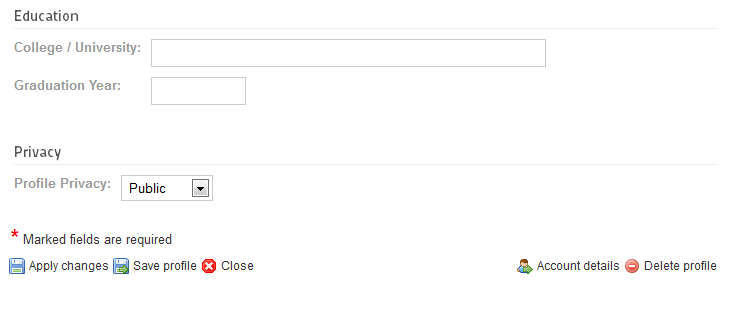
Here you can add more informations about you like your location, height or a description.
Clicking on the key button will allow the user to set the respective field to be visible by only him, his friends or everyone.
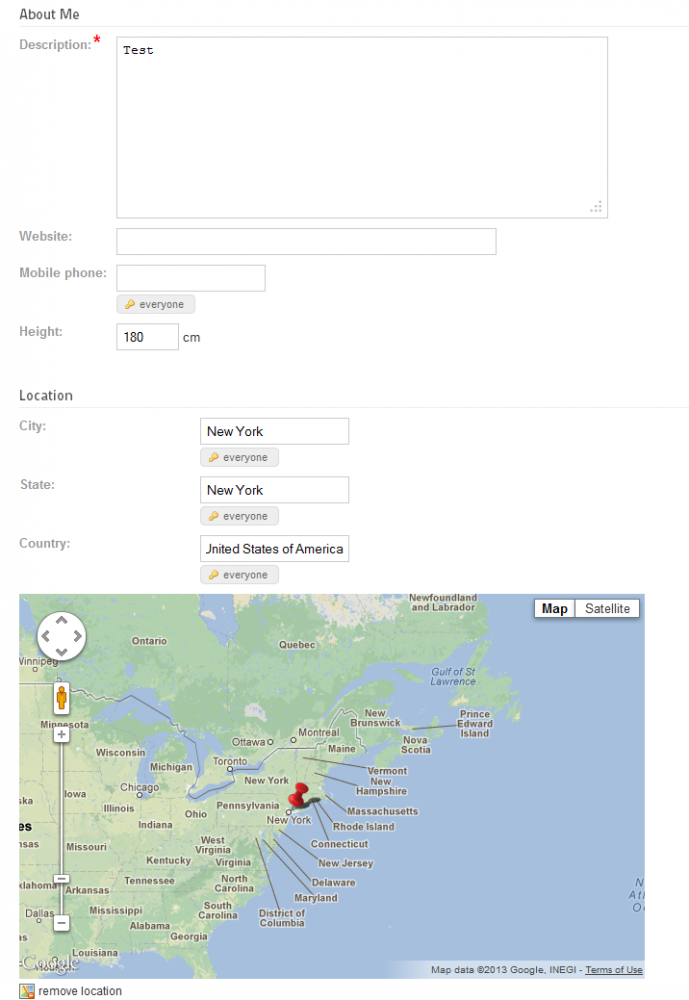
Below, you can add your college/university or the graduation year.
You can hide your profile from other users by setting the Profile Privacy, you can set the profile public, just for friends or offline.
From this area you can also delete your profile.
Click on Apply Changes or Save Profile when you are done.
This is how the profile will look like after the changes and with some events and groups joined. Click on Wall to view that section.
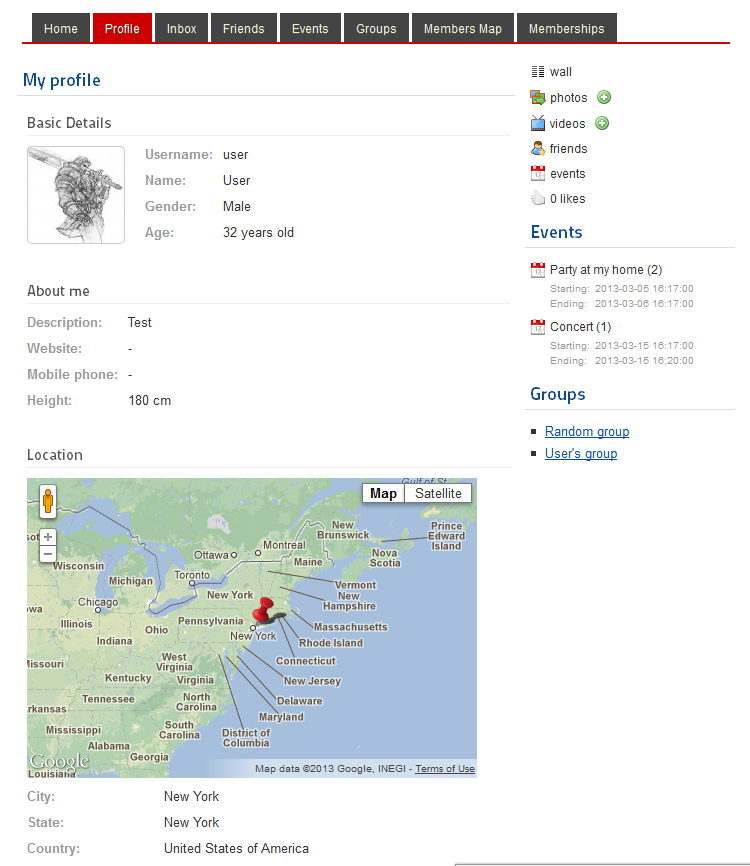
Here you can share with your friends what's on your mind, the message will appear on their home page and they will be able to like it or to respond.

Photos
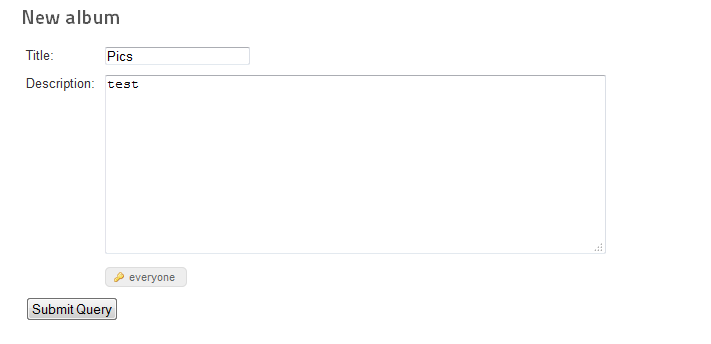
The Photos submenu allows you to create albums and upload photos.
Click on New Album and add a title and a description for your new album, then click on Submit Query.
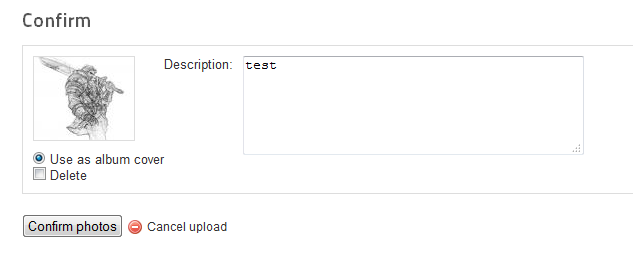
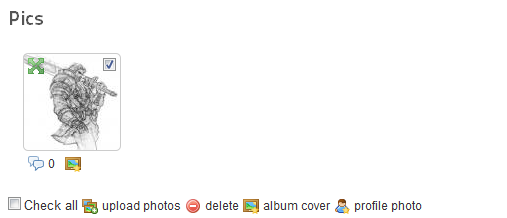
Now that you have an album you can upload photos and select an album cover or a profile photo.
To upload a photo click on the button and select the photo from your system, then you can add a description or make the selected photo the album cover. Click on Confirm photos to finish.
Once you uploaded the photo, other users can like, comment or report it.
Check the tickbox on the right top corner of the photo and click on Profile Photo to add it as your profile photo.
Videos
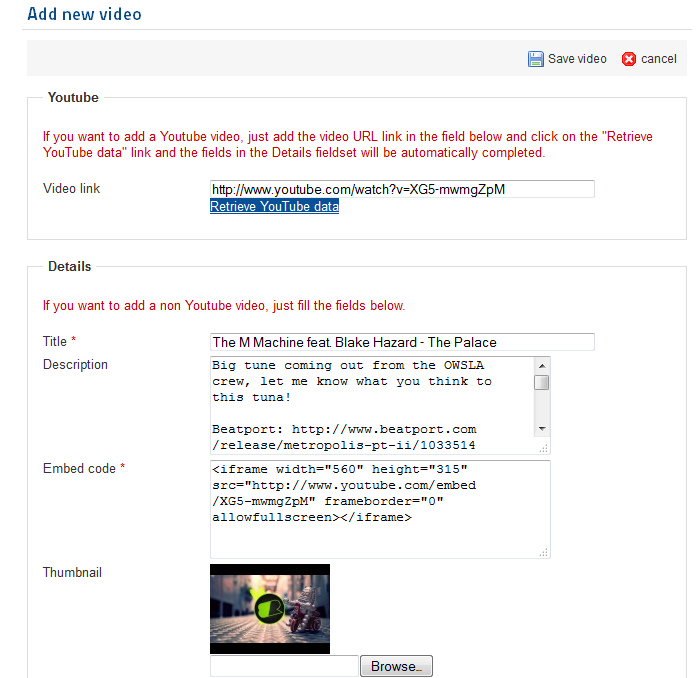
Here you can check your video gallery. To proceed adding a new video click on add new and include your embed code.
To add an YouTube URL and click on Retrieve YouTube data, this will fill automatically all the required fields.
Click on Save video to finish.
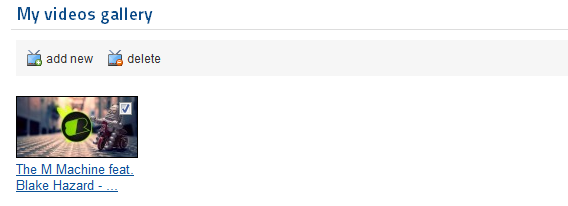
Other members can like or report your videos.
To delete it simply select it and click on delete.
Inbox
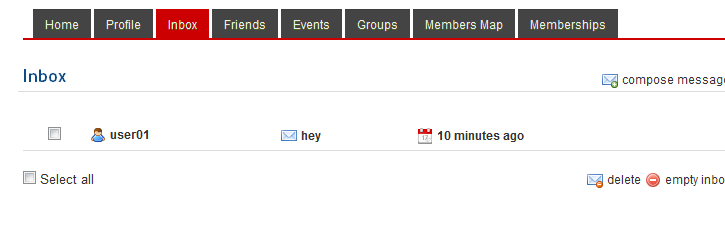
In the Inbox area you can view and manage all your private messages.
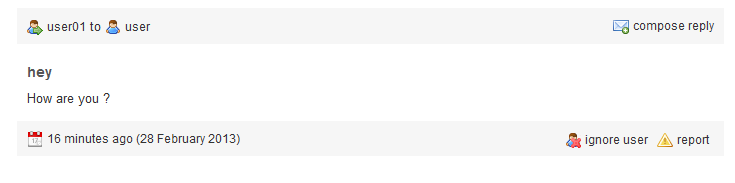
To see the received message click on the title.
Here you can reply to the user who sent the message or, in case he was rude or abusive, you can ignore or even report him.
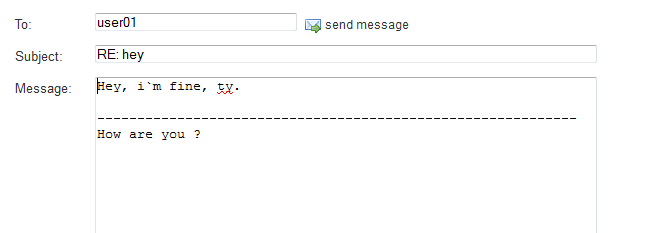
To reply click on Compose reply and write your message.
Click on send message when you are done.
Outbox
On the Outbox area you can view the messages sent by you and to delete them if necessary.

Invitations
From the Invitations submenu you can accept or decline events and group invitations send by other users.
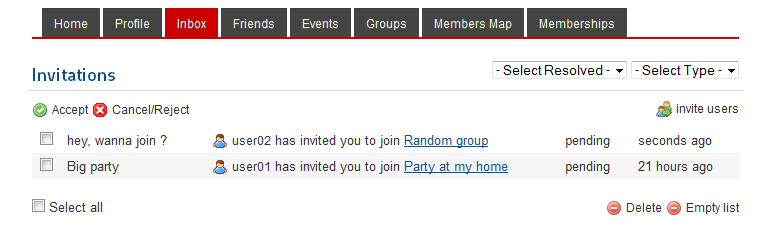
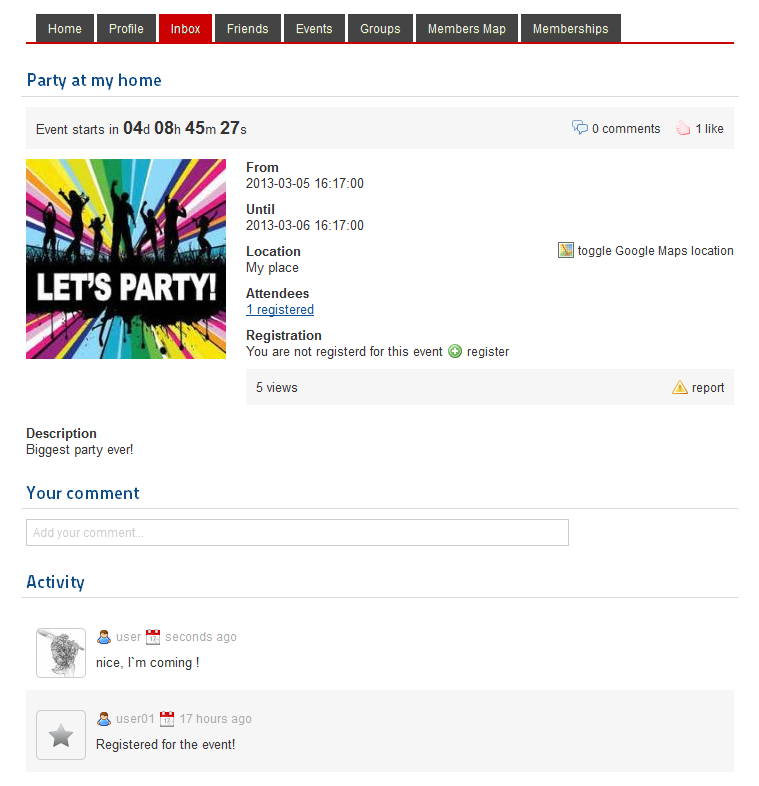
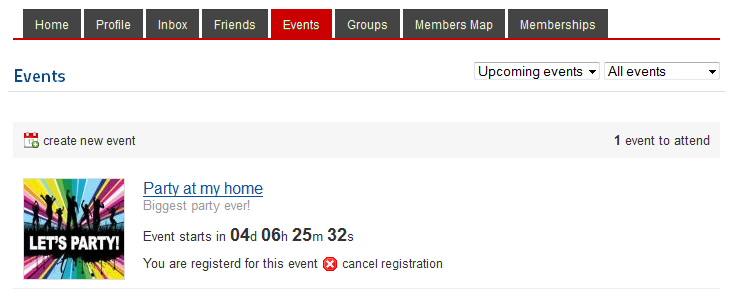
By clicking on the title of an event you can see all the information related to it.
Here you can see the exact time till the even starts and when it will finish.
You can check the location and who are the attendees and also to comment or like the event.
Clicking on Register will add you to the attendees list.
Below all these you will find an activity history that shows you all the comments and who joined or left the event.
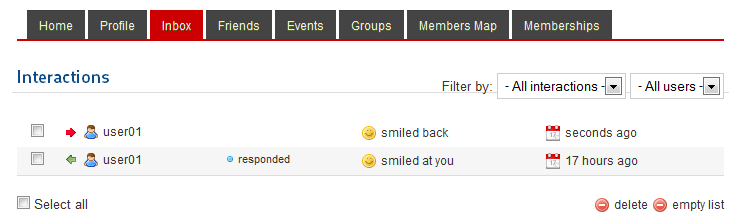
Interactions
Here you can check all the interactions sent to you and the ability to respond back.
The "smile" interaction is the default one but many more can be added by the administrator if desired.
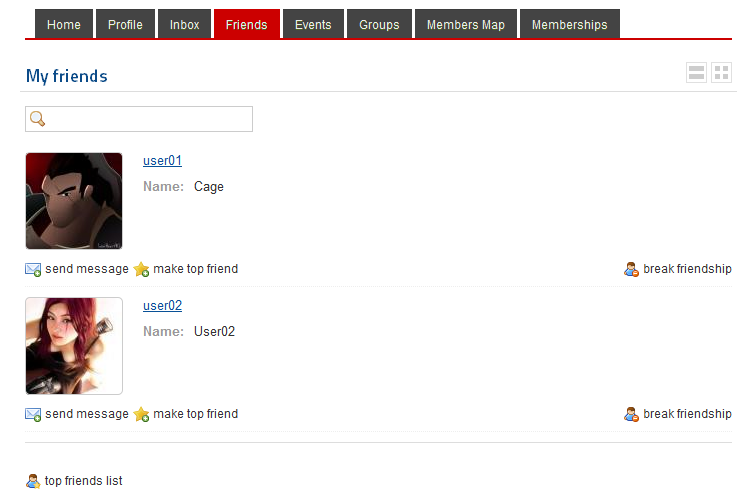
Friends
On the Friends tab you can view a list of all your friends and send them messages or make them top friends.
To remove them from the list click on break friendship.
Top Friends
As top friends you should add the ones closest to you. From this submenu you can send them messages or remove them from the top friends list.

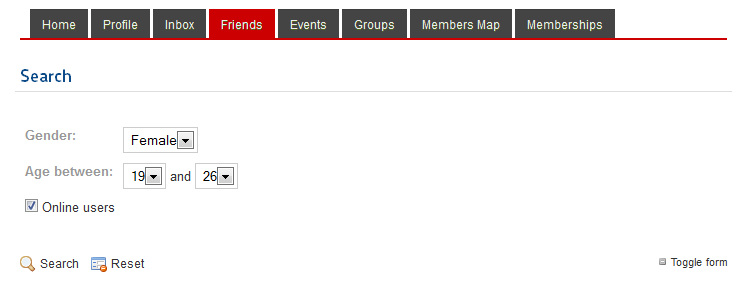
Search
You can search for new friends using the Search submenu, here you will find all the registered users that don't have their profile hidden.
You have the options to search by gender, age and if you wish to display only the online users.
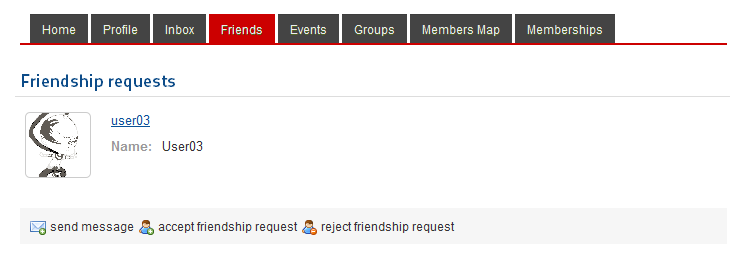
Friendship Request
From this submenu you accept or decline friendship requests. Clicking on the user who made the request allows you to check his profile.
If you have something to say to him you can send him a message.
Ignore List
You can ignore abusive or rude users if needed by accessing their profile pages.
From the Ignore List you can check them out and remove them from the list.

Events
On the Events tab you can view the events you are attending to and create new ones.
Click on create new event to add a new one.
Now to add the details regarding the event, add a title first, preferably mentioning the type of event.
Add date and time for when the event stars and ends.
Add date and time for when the registration for this event starts and when is the deadline.
On the Publishing area you can choose to make it visible(publish it) only from a specific date.
Image & Description allows you to add a logo for the event and a description where you can add details about it.

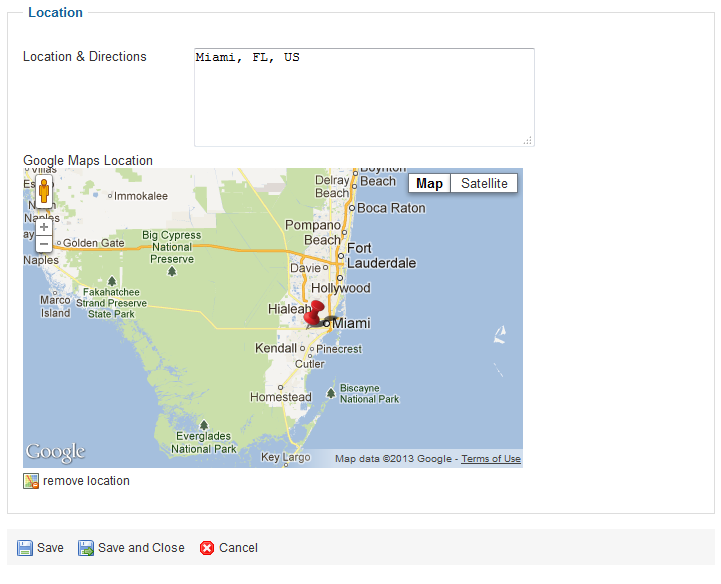
Below all these, you can add details about the Location.
To make the location even easier to find you can add it using Google Maps, simply zoom in and pinpoint where the event will happen.
Click on Save to create the event.
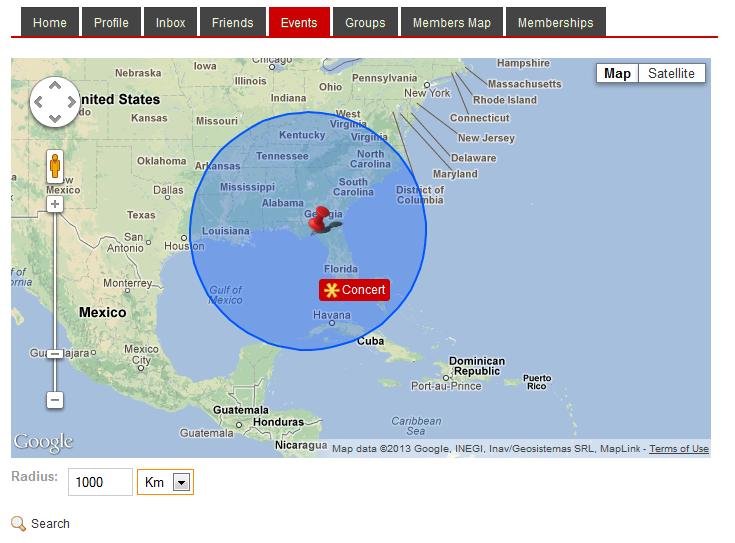
Events Radius Search
This submenu will help you search for events using Google Maps.
Pinpoint on the map what zone you wish to search and add a radius in km/miles to define a specific range.
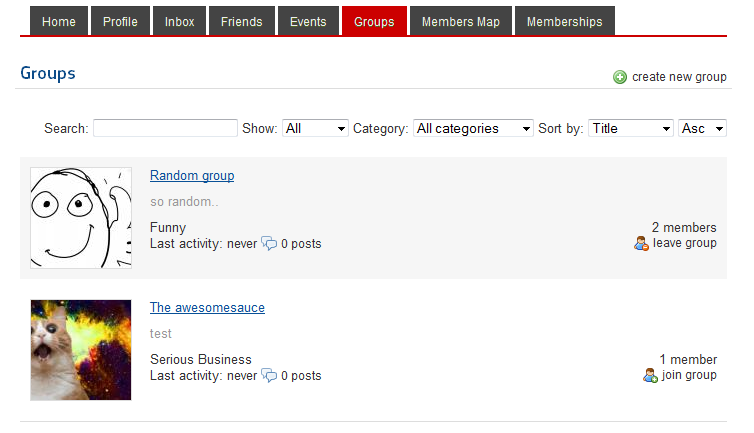
Groups
On the Groups tab you can view all the groups already made or to create a new one, click on create new group to do so.
When adding a new group you can set some details regarding it.
Add a Title and a Description for it so other users will know what is this all about.
You can select a category for it, the group categories are added by the administrator in the backend so the list will vary here.
You can set the Privacy for your group, Public or Private.
In case you want your group to attract more people and to look better upload an Image.
Click on Save and Close to create your new group.

By going to your group's main page you can change the settings with the same form you created it clicking on edit group, additional option being to delete the group.
Clicking on invite users will pop up a window where you send invitations to multiple users writing a title and a description.

Every group has a room where users can post messages, by going to a post you can reply on it or view other user's replies.

On the main page of the group you will also find a like button which also displays how many likes were given and a recent activity showing a short history of the recent posts and comments.
To remove a user from the group click on the members count and then on remove member.
In case you don't wish to be a member of this group anymore and you are not the owner of it, click on leave group.

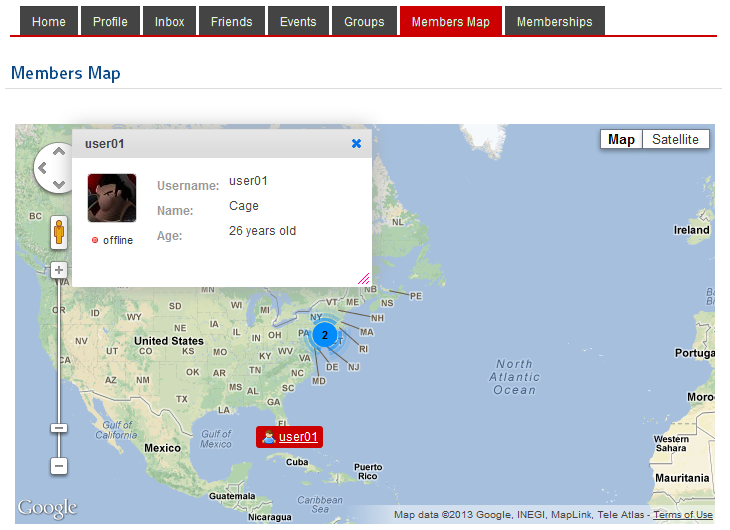
Members Map
From this tab you can see the location of all registered users who added their location using Google Maps.
The place shown with a number on the map means that there are more users in a close proximity so they have to be grouped to avoid overlapping - Zoom in to see them all.
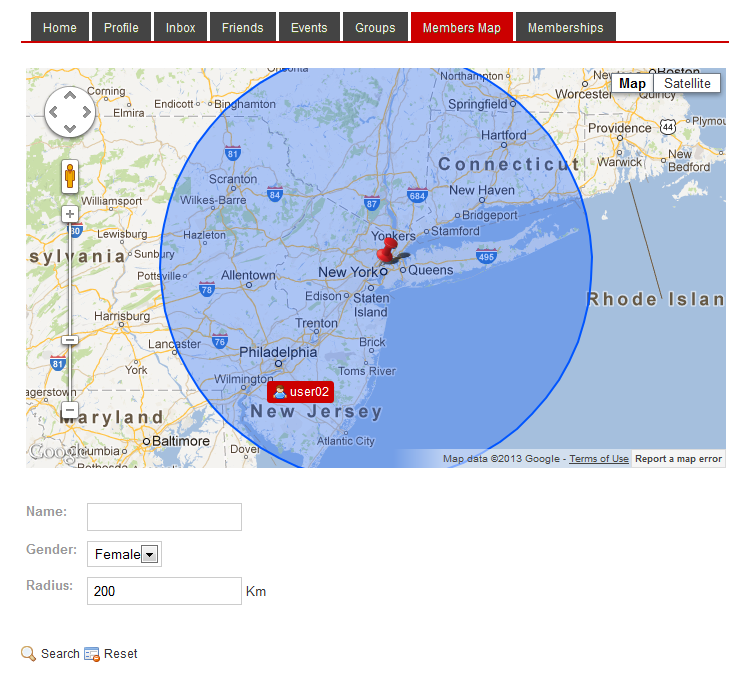
Radius Search
In the Radius Search submenu you can search the users by location using Google Maps.
You can filter the search by gender or name.
Add a radius in km and click on search to see the results.
Infobar
The Infobar is a great feature that helps users navigate even easier around the website providing shortcuts to some areas and notifications when receiving new messages, interactions or requests and also the logout button.
The bar will have to be enabled by the administrator from the backend and if so it will be visible on every page you visit.
User Guide Note
Layout and fields will vary a lot depending on each configuration, this documentation is based on the default installation. To see how you can configure your Social Factory Component, see the custom fields section.