Table of Contents
Configuration
Media Mall Factory provides a powerful solution to manage media files online distribution that can handle third party sellers or artists publishing their media or downloadable goods. Having a built-in Credit System authors can earn money from their sales and your website can keep a certain percent.
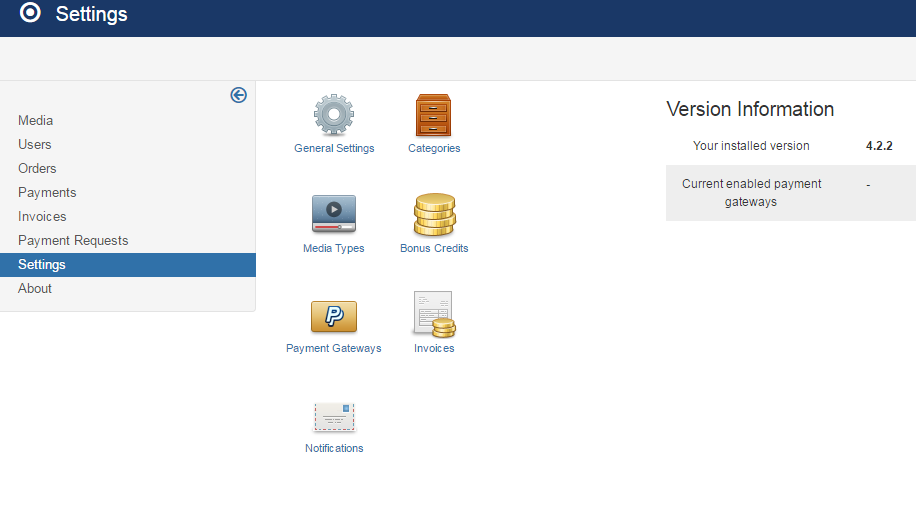
To configure the settings of the Media Mall extension go to "Components/Media Mall Factory/Settings" in the Joomla backend and click on "General Settings".
General
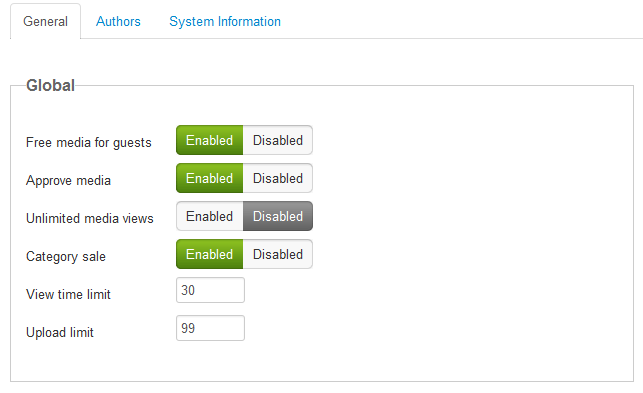
The price for each media file can be either set by the seller or set by the administrator as a default value. In case there is no price set, the media file will be available for users for free. With the Free media for guests you can allow guests to download or view these files as well.
Enabling Approve media will set the status of the newly added files to pending and will require your approval before publishing them. From the Authors tab you will be able to set specific user groups that will benefit from auto approval.
With Unlimited media views users who purchased media files will be able to view them for an unlimited number of times.
Category sale will allow each user to purchase the available media from one specific category all at once, that hasn't yet been purchased by him.
In case a user is, for example, watching a video but for some reason, it stopped loading halfway through, the View time limit feature will intervene, allowing him to refresh the page in the set interval of time without being extra charged an extra view.
Set the maximum size allowed for the newly uploaded files (in MB) on the Upload limit field. Make sure your server is configured to accept files of the set size.
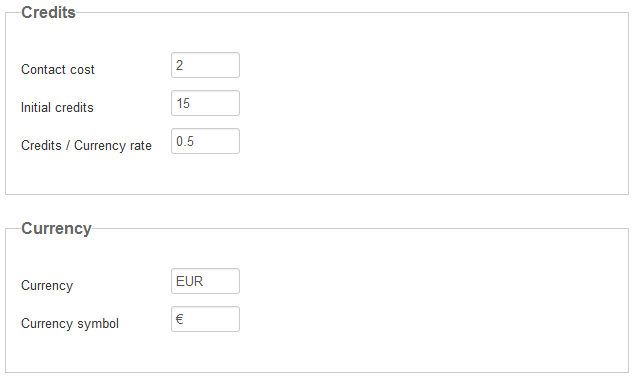
As another revenue stream offered by Media Mall Factory beside the media sales you can set a Contact cost, which will require the user to pay a set amount before he will be able to send messages to the seller.
Initial credits will allow you to set the number of credits received by users upon registration.
Since users will be able to purchase credits or convert funds into them, you will need to set the Credits/Currency rate here.
Set the currency which will be used on transactions and add the corresponding symbol for it.
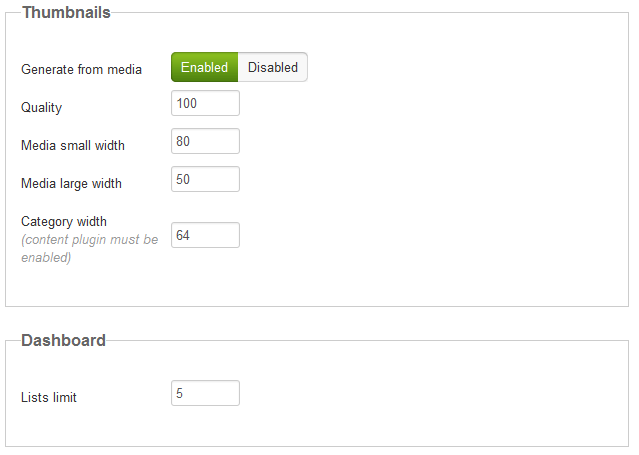
With Generate from media enabled, if no thumbnail is uploaded and the media file is an image, a thumbnail will be generated from the uploaded media file. The Quality of these thumbnails can also be set here.
Media small width will change the resize value of the thumbnails found on listings, while Media large width changes the resize value of the thumbnails found on the main pages of the media files. From here you can also set the width value of the category thumbnails with the Category width field.
Lists limit allows you to set the number of results displayed on the Dashboard lists.
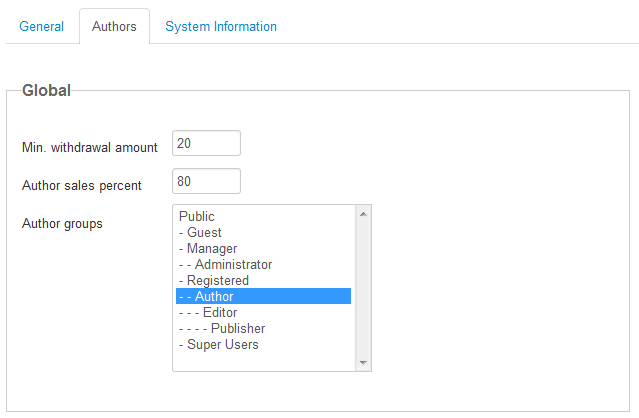
Authors
As an author, the user can gain funds by selling media files and withdraw them afterward. With Min. withdrawal amount you can set a limit of the minimum allowed value to be withdrawn.
The website can keep a certain percent of the sales made by the authors. Enter on the Author sales percent field how much they will earn from their sales.
Select which groups will be assigned as authors. It is recommended that you also set the access levels of all the groups accordingly.
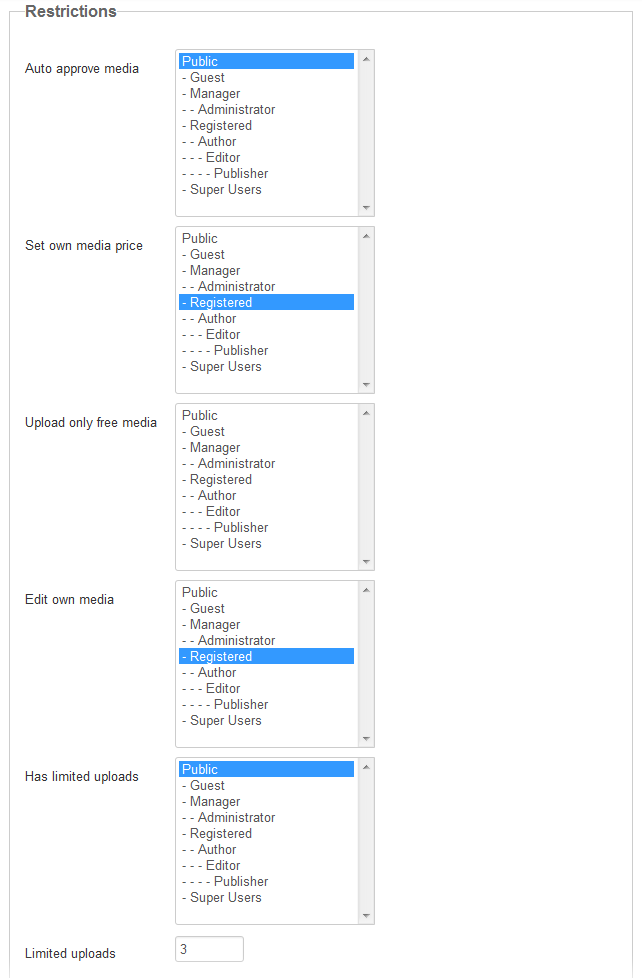
From the Restrictions area, you can set restrictions or allow various actions for all the available user groups:
- Auto approve media - Select the groups that don't need approval for their uploaded media files.
- Set own media price - Select the groups of authors that are allowed to set their own price for their media files.
- Upload only free media - Select the groups of authors that are allowed to upload only free media.
- Edit own media - Select the groups of authors that are not allowed to edit their own media.
- Has limited uploads - Select the groups of authors that have limited uploads. (Enter below the number of limited uploads that apply for these groups)
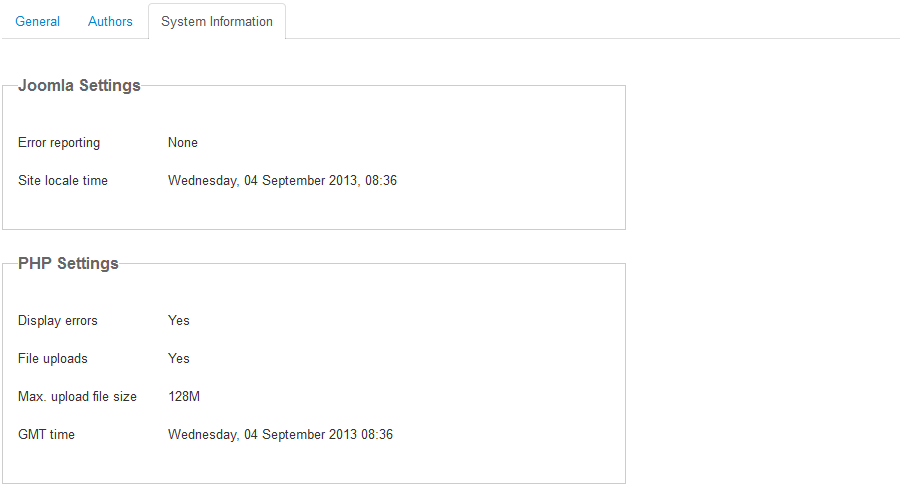
System Information
The System Information tab is implemented to provide basic information about the cache directory, upload directory or configuration file. These are useful for debugging if any issues arise. The component handles the configuration file permissions itself. Even if the configuration file might be Unwritable, the component will still be able to save the configuration and restore previous permissions.
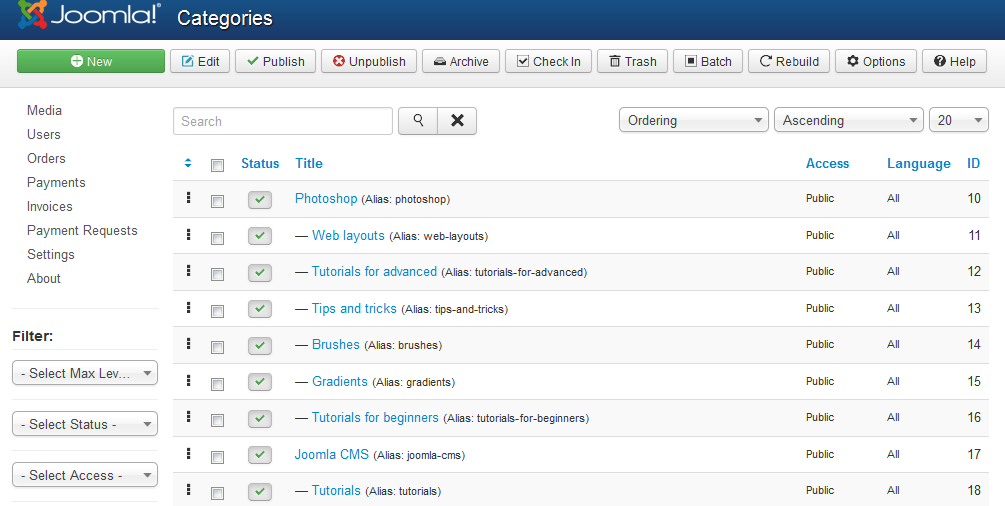
Manage Categories
Media files can be assigned to different categories depending on what you have added on the Categories page from the backend.
This page allows you to create categories along with sub-categories or to sort the order of the already existing ones.
The component supports unlimited category levels.
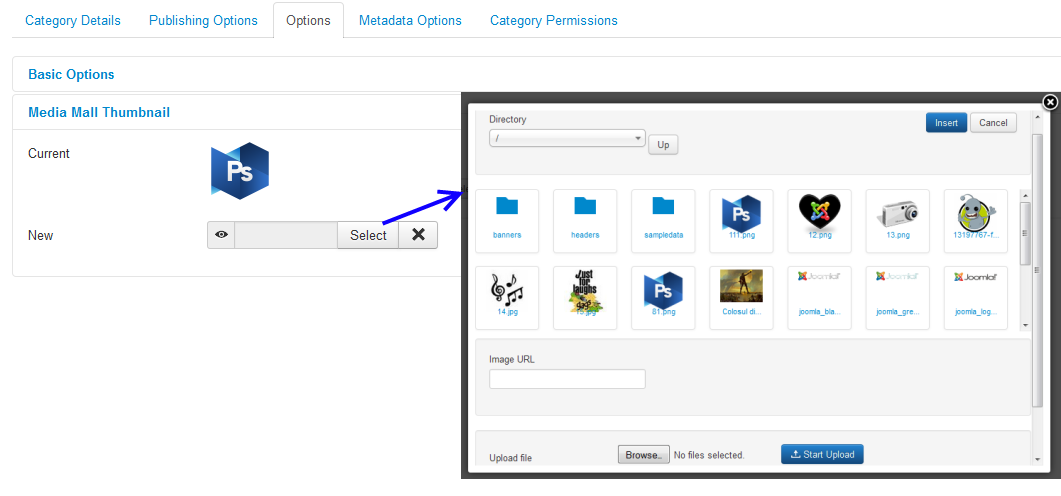
When creating or editing a category you will have the option to attach a thumbnail which will be displayed on the listings.
Go to the Options tab and click on Media Mall Thumbnail and then on the Select button to proceed with choosing the thumbnail. A popup window will appear where you will find the folder with the already uploaded thumbnails. Click on Browse and then on Upload to add a new one. Click the newly uploaded thumbnail and click on Insert to finish the procedure.
Component Menu
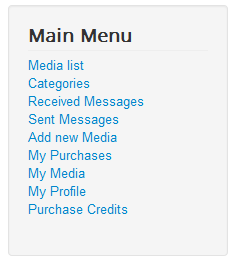
Media Mall Factory comes with many menu items that you can manage by adding or removing them from the user menu.
Here is a complete list of them, these being available for the registered users upon the installation:
- Media list - Displays a list of all the media files added, filtering and sorting is also available here.
- Categories - Displays a list of all the available categories and subcategories.
- Received Messages - Displays a list of all the received messages by the logged in author.
- Sent Messages - Displays a list of all the messages sent by the logged in user to the authors.
- Add new Media - Displays a form where the author can add new media files.
- My Purchases - Displays a list of all the purchases made my the user.
- My Media - Displays a list of all the added media files by the author logged in.
- My Profile - Displays the user details with the ability to edit them and various link such as balance history, credits history, convert funds and more.
- Purchase Credits - Displays a form where the user can purchase credits using one of the available payment gateways.
Modules
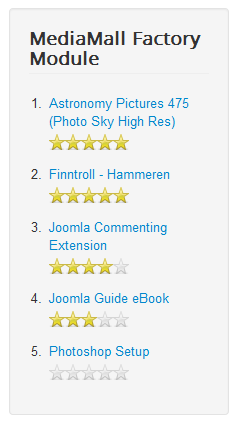
Media Mall Factory Module is a multiple instances module that displays a list of media files based on 3 different criteria:
- Latest Added - displays how long ago the media was added
- Top Rated - displays the ratings of the media file
- Top Downloaded - displays how many times the media files were downloaded
Clicking on the name of a media file will redirect you to its detailed view page.
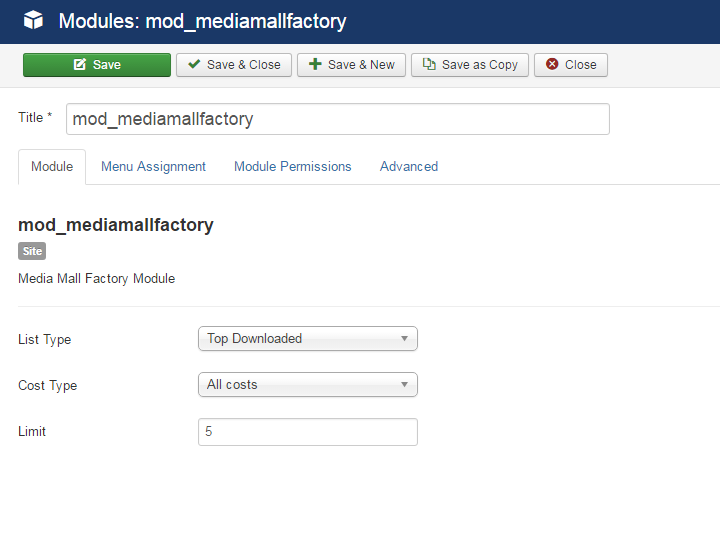
On the backend, you can choose one of the 3 criteria mentioned above on which to display the media files.
With the use of Cost Type you can filter the media and display only the ones that are Free, Paid or All costs.
Enter on the Limit field the number of media files that will be displayed.
(!) You can Duplicate this module in case you want to display more listings at once with different types.
(!) Documentation based on Media Mall Factory version 4.2.2.