Table of Contents
User Guide
Create New Ad
To create an ad click on New Ad from the Swap Factory user menu.
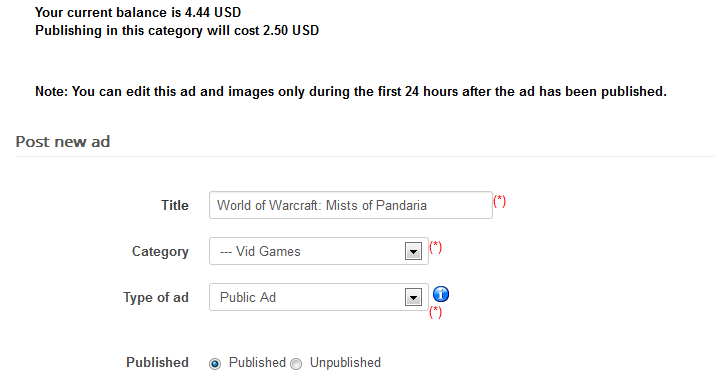
On the top of the ad form, you can see information about your balance and the listing price, if paid listings are enabled. In case it is enabled, you will be charged a set amount of funds every time you create a new ad. It is important to remember that this feature, along others, can be different or even disabled according to the backend configuration of the respective website .
Firstly you will need to choose a Title for the item or service you are selling, and the proper Category for it, fields which are required.
Select the Type of your new ad. Depending on the backend configuration, there can be 2 different types available for you to choose from:
- Public Ad: Regular ads where all the information can be seen by all users and messages are seen by everyone. Unless the admin overrides it and messages can be seen only by logged-in users.
- Private Ad: The address is hidden to users and only the Country and City are viewable. Messages can only be seen by the owner and the user that sent/received the message. The Google Maps location is also hidden.
Select the status of the ad to either Published or Unpublished. In case the listing pricing item is activated and you do not have enough funds, the ad will remain unpublished until the order issued for that listing is paid and confirmed.
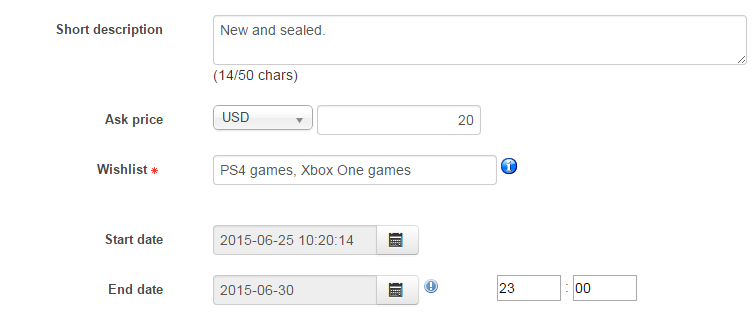
Add a Short Description of the item which will be viewed on the listing pages. This is not a required field but it can be useful to attract more people to your ad.
You can also add a Price for your ad. This field can be enabled/disabled or even compulsory if the administrator decides so. Select the currency type from the dropdown menu.
Add various desired items on the Wishlist field which you are open to trade for. This field can be mandatory and limited depending on the back-end settings.
Selecting the Start date and the End date of the ad indicates the period of time of availability. In some cases, depending on the backend configuration, with listing pricing enabled, you will have to choose an availability period of a set number of days with a specific price assigned to it.
The "!" mark next to the ending date will display the maximum amount of time the ad can be published.
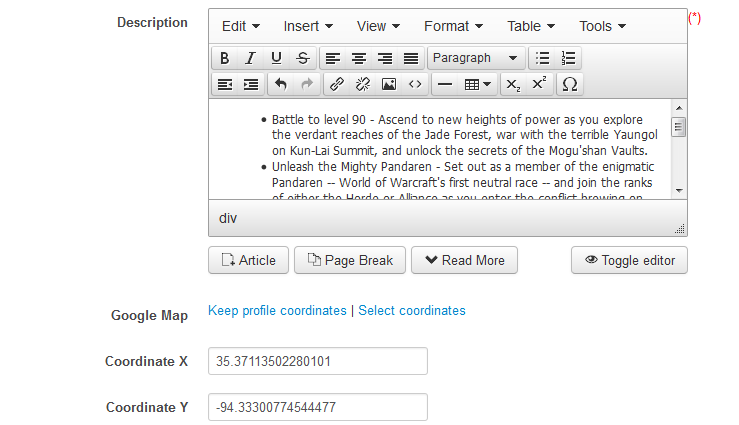
A WYSIWYG editor is available, where you can write a detailed Description of the item or service you are selling.
If you are selling a property, or just want to show the buyer where he can pick up an item, Google Map coordinates can be added. Click on Select coordinates and a popup window will appear, on which you can pinpoint the location to retrieve the coordinates. In case these are the same as your location, then you can simply click on Keep profile coordinates.
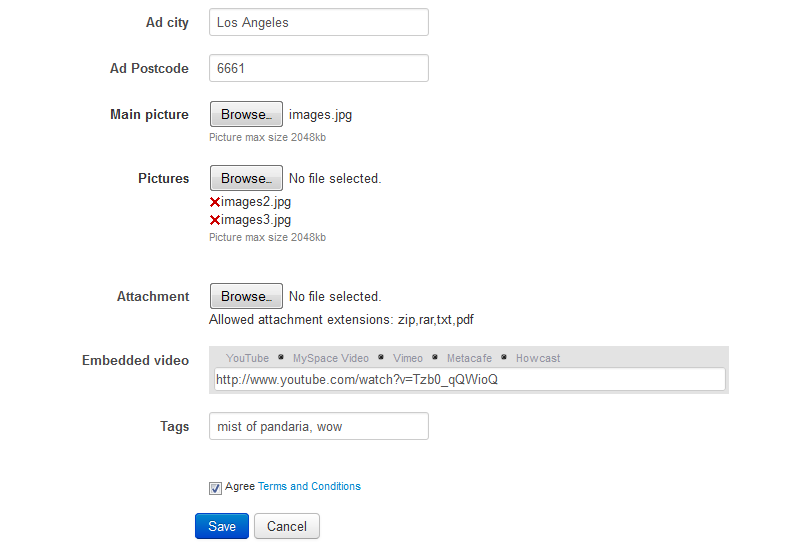
Write the ads' City and Postcode for further location details of the item or service you wish to sell.
The Main Picture represents the picture that is displayed in the listings, and also the one displayed first on your ad details page.
More pictures can be added from the Pictures field. A limitation of these might be set by the administrator or even an image pricing.
On the Attachement field you can upload a file (.zip, .rar, .txt, .pdf) related to your Ad such as schematics, receipts or anything else you can find regarding your product.
Embedded videos from various websites (Youtube, Myspace, Vimeo, and Howcast) can also be attached, adding more content related to your ad.
Tags are keywords that best describe or categorize the Ad. Searching will also use these tags to find what you are looking for. These can also be words from the Title or Description. Write whatever you think will make your Ad easier to find.
When you are done filling the fields, you can read the Terms and Conditions of the website, mark the checkbox, and then press Save.
Once created, you will find your ad on the My ads page of the user menu.
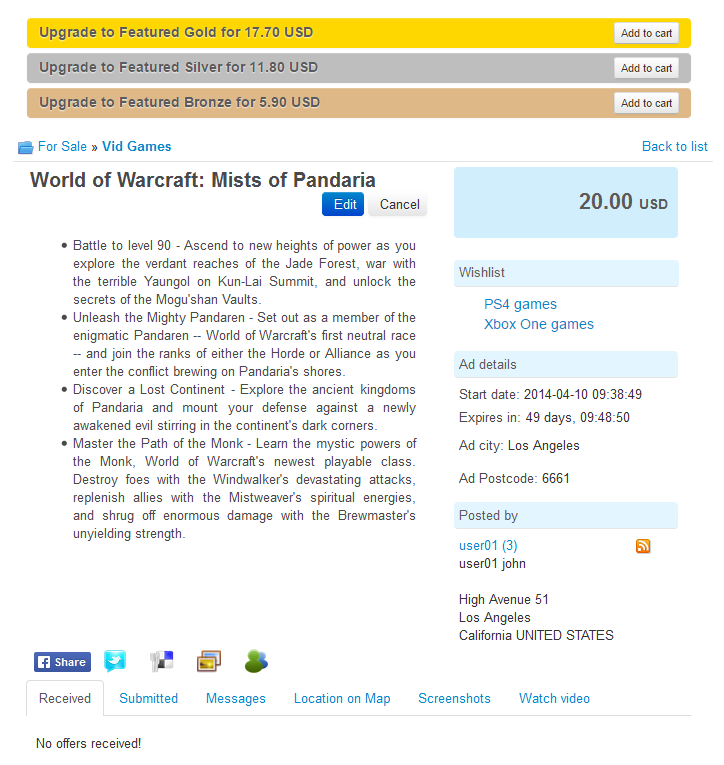
If enabled by the administrator, you will be able to promote your ad to featured Gold, Silver or Bronze status. This will lift your ad on top of the lists and with different, more visible template systems.
Check the Payment Plugins documentation for further information on publishing paid ads and extra features.
From the details page of the ad you can also Edit or Cancel it. Note that you can edit your ad and it's images only during the first 24 hours after it has been published.
Swap Items
With Swap Factory you have the unique ability to exchange goods in a very simple way.
Our component provides the users the ability to exchange goods virtually and with means to contact each other in order to complete the deal.
Here you will see how the swapping system works. Firstly, find the ad of an item you would consider for an exchange, this can be done in many ways: either via Ads List, searching in Categories section, looking for its exact location on Ads on Map page, or by performing a Search after it or after a certain user.
Various actions can be done while you are on the details page of an ad. You can view all the details regarding the chosen ad, such as a description, the exact location of the item (either displayed on Google Maps or by text), screenshots, information of the ad owner which will be useful in order to complete the deal, and much more.
When you have found the item you were looking for, click on the Propose Swap button.

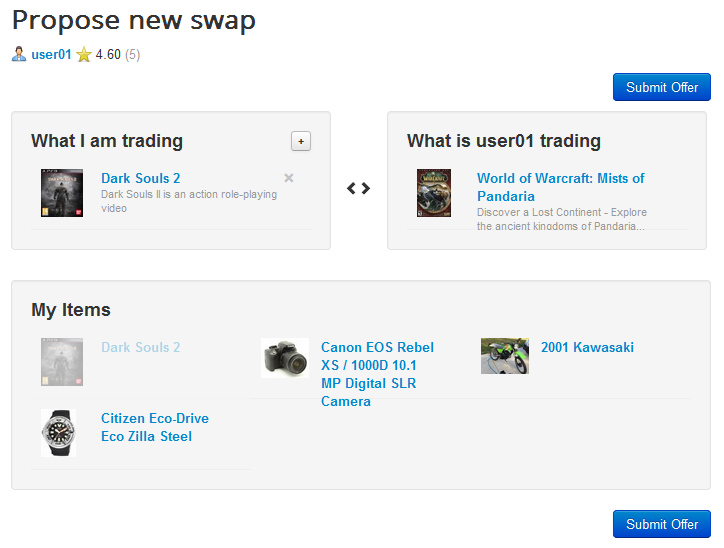
Now you will need to add the item you wish to exchange, multiple items can also be added if needed.
Click on the "+" button found at the What I am trading area to display all your items, click on the item(s) you wish to trade, these will appear on the left side of the screen.
On the right side of the screen, you will see the item you wish to exchange for.
Click on Submit Offer when you are done.
The offer you made is now on Pending and can be Accepted/Declined by the respective user.
A Messaging system is available for each offer, allowing both users to chat regarding the goods they wish to exchange.
If needed, you can add other items on the offer and remove the initial one, an Update Offer button will become available once any changes are made. A Cancel Offer button is also displayed to close the offer.

Now that the offer is on pending, the other user will have it listed on the Offers List page from the user menu under the Received tab. Other tabs found here are for the Submitted and Closed offers.
Furthermore, the respective user can choose to review the offer and sent messages regarding it. Accept Offer and Reject options are available to easily decide if the items exchange will take place or not.
In case the offer was accepted, both users will be able to rate each other using a simple 5-stars system.

(!) Documentation based on Swap Factory version 2.0.0.