Table of Contents
Mail Settings, Countries Manager & Import/Export Tools
Mail Settings
Penny Auction Factory offers a variety of email notifications which can be sent automatically for different actions within your website.
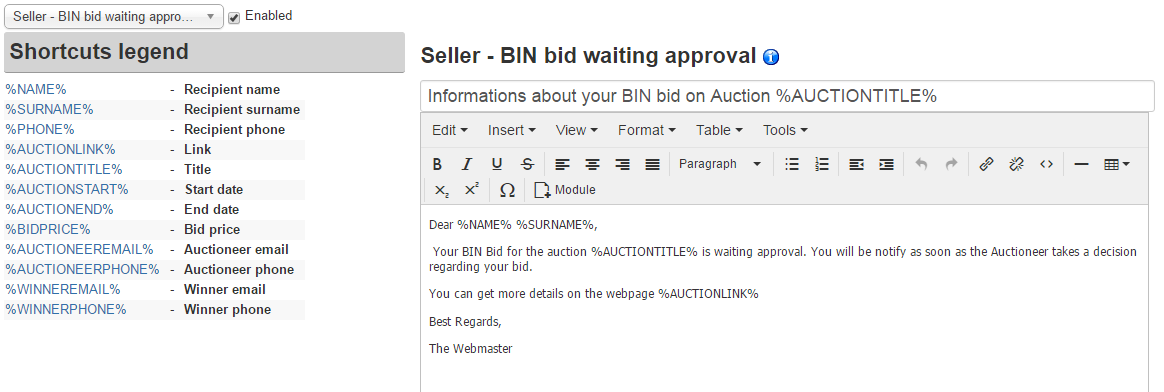
Go to Components/ Penny Auction Factory/ Settings/ Mail Settings to enable, disable or edit them accordingly.
Here are the possible email settings you can configure:
- Seller - new bid: sent to seller when a new bid is made on his auction.
- Seller - BIN auto accepted: sent to seller when a BIN was bid automatically accepted for his auction.
- Seller - new admin message: sent to seller when a new admin is in charge.
- Seller - BIN bid waiting for approval : sent to the owner of an auction when a BIN bid was placed on their auction and it is now waiting his approval.
- Seller - Auction about to expire: sent to seller when an auction is about to expire.
- Seller - new BIN bid: sent to seller when a new BIN bid is made on his auction, so he can accept it.
- Seller - choose winner: sent to the seller of an auction when the auction is closed and he must choose a winner.
- Seller - winner chosen: sends an email notifying the seller that the winner was chosen.
- Seller - no winner chosen: sends an email notifying that there is no winner to the auction.
- Seller - reserve price not met: sent to bidders at the end of the auction notifying them the reserve price was not met.
- Seller - auction published: sent when the bidder's auction was successfully published.
- Seller - auction banned: sent to seller when his auction gets banned by the administrator.
- Seller - auction extended: sent to seller when the auction was successfully extended.
- Seller - auction approval: sent to seller when the auction was approved.
- Bidder - New message: sent to bidder when he receives a new reply from seller.
- Bidder - bid accepted: sent to winning bidder when his bid is accepted.
- Bidder - bid lost: sent to bidder when someone else won the auction.
- Bidder - BIN bid accepted: sent to winning bidder when his BIN bid is accepted.
- Bidder - auction canceled: sent to the bidder to notify him when an auction where he placed a bid on is canceled.
- Bidder - auction closed: sent to bidder when an auction is closed.
- Bidder - successful bid: sent to the bidder when his bid was successful.
- Bidder - Outbid Notification: sent to bidder when his outbid-ed.
- Watchlist - BIN bid accepted: sent to followers when a bid was accepted for an auction they were watching.
- Watchlist - auction canceled: sent to users when a watched Auction is canceled.
- Watchlist - auction closed: sent to users when a watched Auction was closed.
- Watchlist - auction about to expire: sent to users when a watched Auction is about to expire.
- Watchlist - new bid: sent to users when a new bid is made.
- Watchlist - new BIN bid: sent to users when a new BIN bid is made.
- Watchlist - his bid canceled: sent to users when somebody else withdraws his bid.
- Admin - auction report: sent to admins whenever someone reports an auction.
- Admin - pay requested withdraw: sent to admins when someone has made a payment.
- Admin - approval: sent to admin when something needs to be approved.
- User - payment received email: sent to users when the payment was successfully made.
- User - debtor notification: sent to the user whenever his money balance is negative.
- User - new rating received: sent to the user whenever he gets a new rating (after an auction is finished).
- User - withdraw funds: sent to the user when he wants to withdraw his funds.
- User - added to blacklist: sent to the user if he gets added to the blacklist.
- User - removed from blacklist: sent to the user if he gets removed from the blacklist.
You can enable or disable just some of the messages by clicking on each of them from the drop-down menu and checking or unchecking the checkbox found next to them. If you want them all to be activated be sure to verify them one by one!
(!) CRON service has to be configured and to run regularly in order for all the notifications to be sent.
(!) Take care in which messages private information is disclosed.
Countries Manager
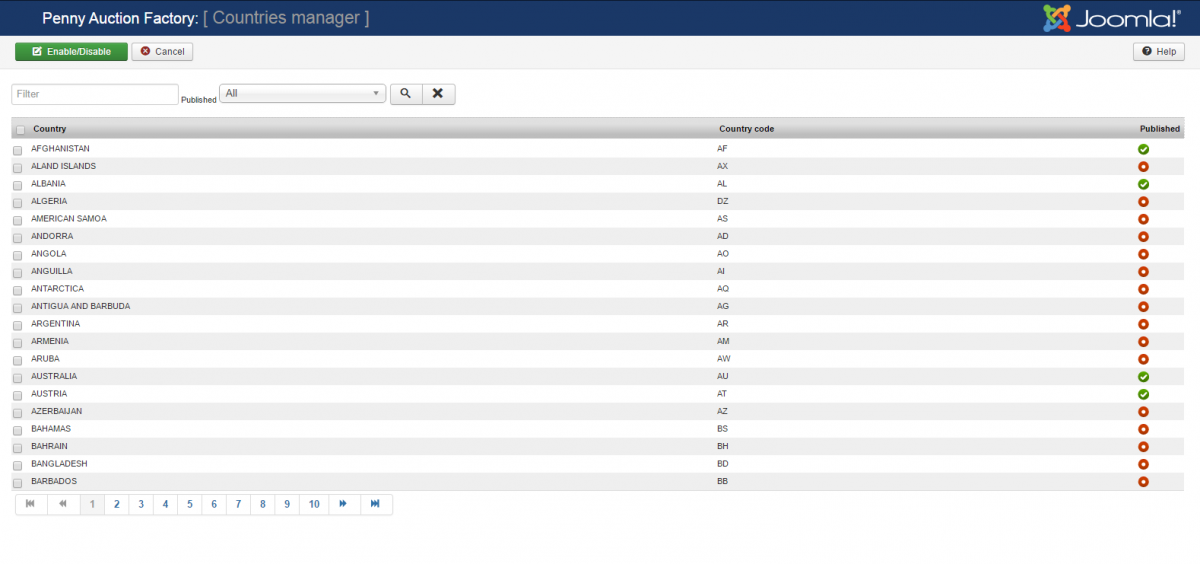
The Settings/ Countries Manager page allows you to set up which countries can see the posted auctions and which can not.
A filtering system is available, that will help you search for a certain country.
On frontend, users will have only the enabled countries to choose from when setting their profiles. Only the countries you have selected above will be available as options, whenever users choose their origin country.
Import/Export Tools
From the Tools page you can manage your auctions data by creating backups, restoring them or to simply clean up the database by deleting closed auctions.
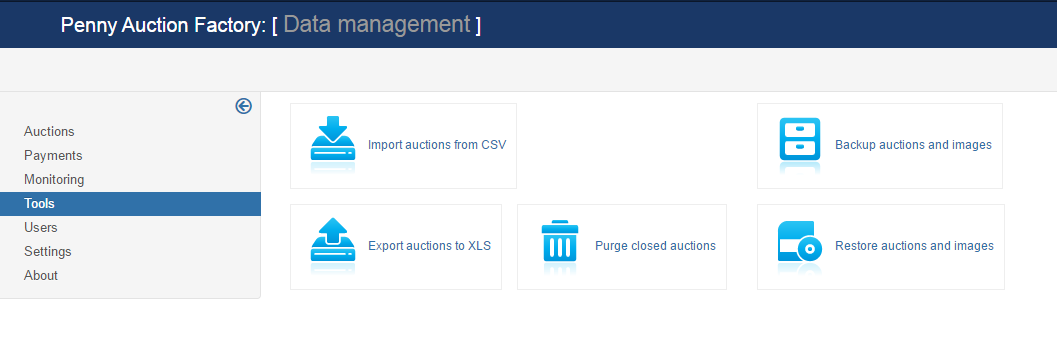
You can create a ".xls" file containing a list of all the auctions data available on your website, or to import a ".csv" file adding additional auctions.
With Import Auctions from CSV, you can import data as a bulk upload, which will append the data to your existing database. This will help, for example, to easily populate your database, combining all of the existing records, which are kept in different formats, into a single one.
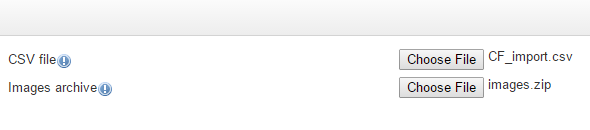
To import a CSV file, click on the Browse button, select the file from your local drive and click on the Save button found at the top of the page.
Having a .zip file containing images of these auctions can also be uploaded the same way using the provided field.
It is important to know that this feature requires strict conventions for the files to work properly: each value is inserted into the database and the order must be respected. Custom fields are not supported when importing.
You can purge the auctions that ended, in order to keep the database clean, by clicking on the Purge Closed Auctions button.
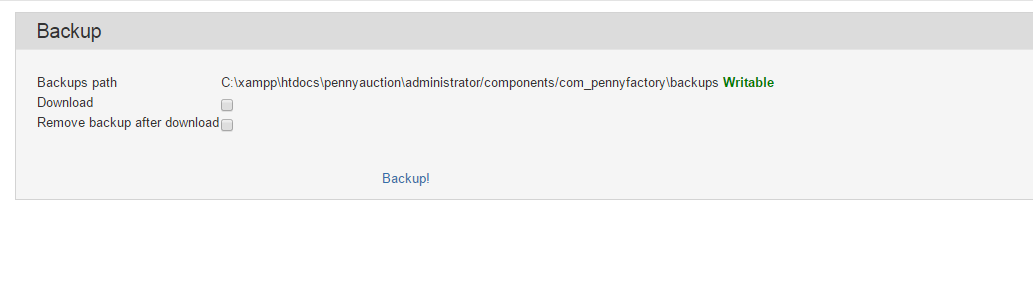
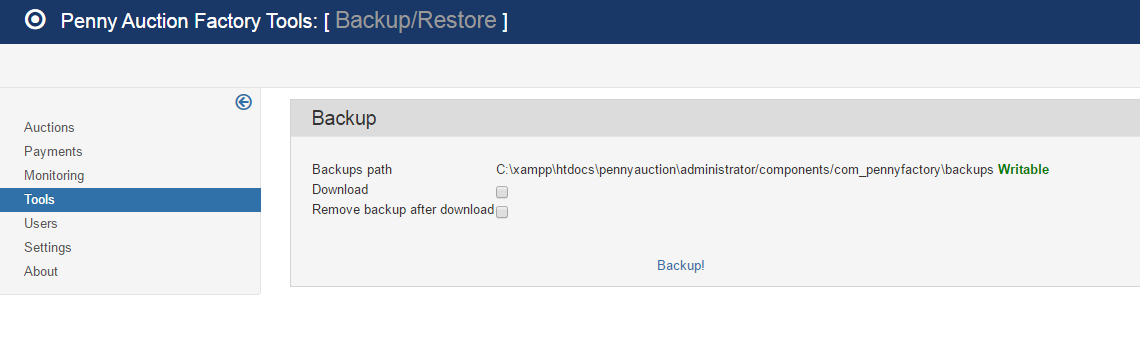
With Backup Auctions and Images you will see the path where the ".zip" file will be saved. To proceed creating the backup, you need to be sure the path is Writable.
Here you can also choose to download the file on your local drive and to delete the one saved on the server after the download occurs.
To restore one of the created backups, go to Restore Auctions and Images and select the file from your local drive.
You can verify the path where the restoring will occur and choose if you wish to Overwrite Existing Images .
(!) Documentation based on Penny Auction Factory version 2.0.1