Front end Menu
In order to use Article Factory Manager from frontend, you will need to set up the user menu by adding component related menu items.
This will be done from backend, you can either create a new menu from Menus/Menu Manager/Add New Menu or add the items on an already created menu, such as the Main Menu of Joomla.
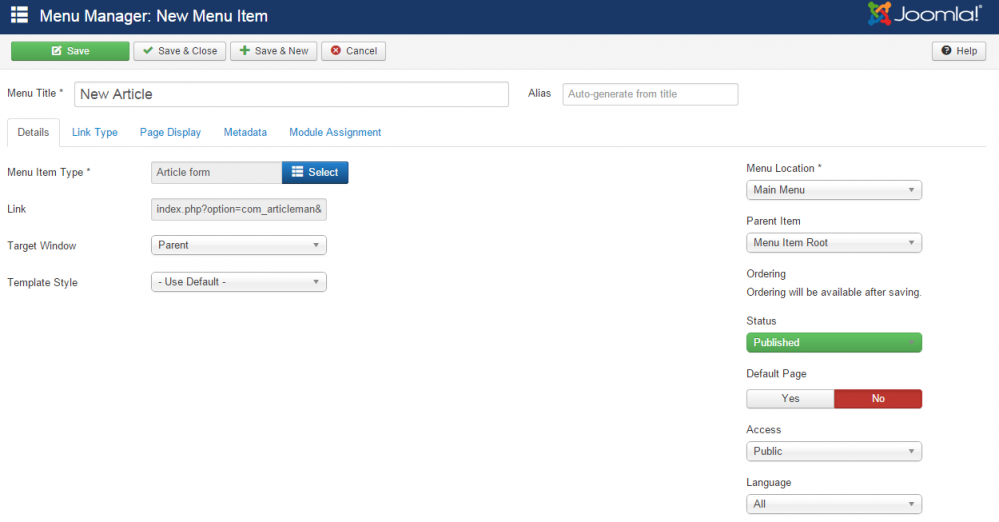
For this example, we will be adding the "Full Article form" menu item which helps us to submit new articles. Go to Menus/Main Menu/Add New Menu Item and select said item on the Menu Item Type field.
Add a Menu Title which will be the item name displayed on the menu. Here you can also set the Access which should be set according to the Permissions configuration.
Click on Save when you are done. You can follow the same procedure in order to add all the available Article Factory Manager menu items.
Here is a list of the available menu items and their usage:
- Approve - The approval queue Menu Item available for users that have the permission to approve articles.
- Full Article form - Create new article form with all the fields.
- Articles - The article list for the users which can create or submit.
- Resourcebox - User Resource Box where he can promote himself.
- Search form - Users can search for articles they have created or approved.
- Custom Article Form - In this form you can enable or disable any fields except the Title and Description, and you can also set a template for the Description field.
Submitting New Articles
Depending on the backend configuration users might need to login as registered users in order to add new articles on frontend. To register they must provide a username and a valid email. The Email is important since they will receive communications regarding their articles through email.
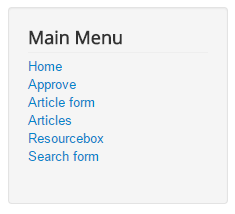
In case you added all the Article Factory Manager menu items to the Main Menu it should look similar to this, depending on the user group and the defined name:
(!) It is important to know that the details which you can manage when adding new articles can be different depending on how settings and permissions are configured from backend.
To start adding details about your article click on New Article from the user menu.
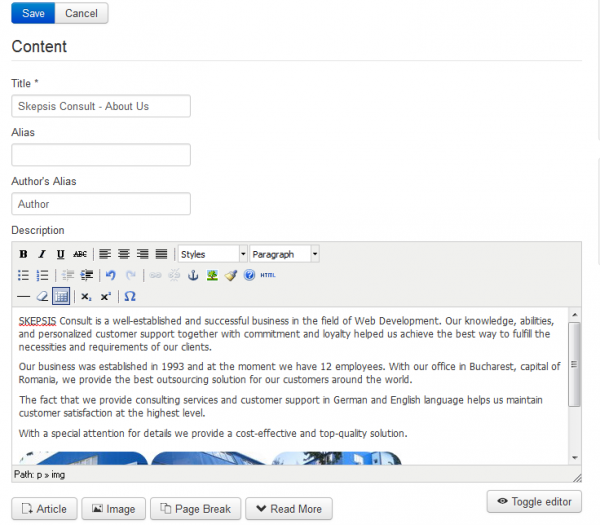
First you will need an article Title which matches your article's content.
Adding an Alias will use it in the SEF URL. Leaving this blank will make the component fill in a default value from the title.
Author's Alias field will change the display on the article from the author's name to the one inserted here.
Furthermore you will find a WYSIWYG text field where you can add your Article Description. Depending on the backend configuration you can use various tags, add images to it, and more. Use the Resource box as your signature if available, do not repeat it in the main article.
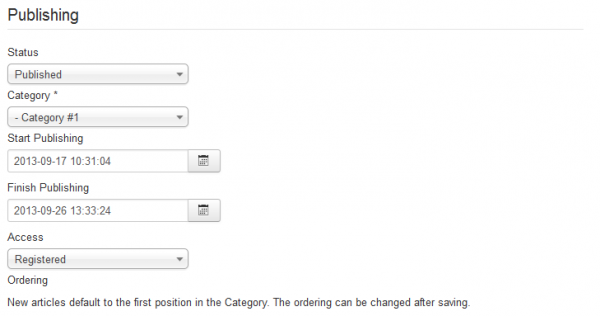
On the Publishing area, depending on the assigned permissions you can choose the Status of your article, you can choose to set it as Published, Unpublished, Archived or Trashed.
Select the Category that is the most accurate for your article. This may keep your article from being rejected as some directories may require proper classification.
The Start Publishing date comes set as the current day but you can choose a date in the near future for your article to be published (useful for products not launched yet). Below it you can set the Finish Publishing date which will unpublish the article when that moment arrives, not setting one will publish the article for unlimited time.
Access level regarding the article can be set from here as well, you can choose which users groups will be able to view it.
The Ordering of the articles can also be set from here, however this field is available only when editing an already existing article. New articles will be placed first in the category as default.
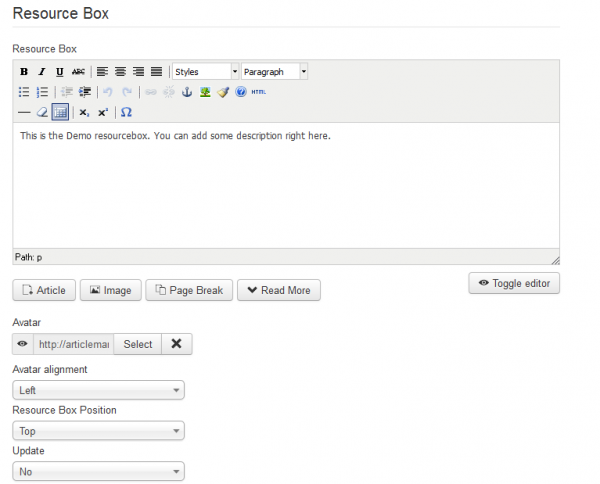
You may change your Resource box for any article, however, the form will load with your predefined values. Depending on the backend configuration, the number of links allowed on the resource box can be limited or even disabled.
With the Resource box enabled you might also have the option to add an Avatar if allowed by the administrator. You can either upload one or add an URL of your desired avatar. Avatar alignment will let you choose on which side of the text should the avatar appear.
Resource Box Position field allows you to display the resource box either on the top or on the bottom of the article, choose Nowhere to exclude it from this particular article.
Selecting the Update option will also update your general resource box for future use, already published articles will not have their resource box updated however.
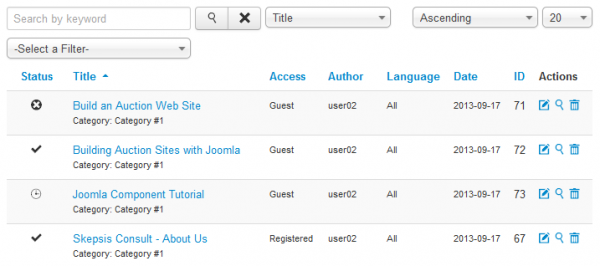
All the articles submitted by you can be seen on the Articles page found on the user menu, allowing you to manage them accordingly. Here you can check various information related to them such as the status of the article, the title, category, access level and more.
On the right side of the page you can click on the Preview button for each article to view their content in a modal window.
In case you want to modify the content of an article you can click on the Edit button. This button however will be available only if allowed by the administrator set permission - 'Edit Own'.
If you want to make an article unavailable, simply set the status to Unpublished or click on the Delete button. It is important to know however that you can have the access for these actions denied by an administrator - 'Edit State' and 'Delete'.
In case you have a long list of articles you can search a specific one by adding keywords or by filtering them by their status. You can also choose how to sort them and how many to be displayed on the list.
(!) Documentation based on Article Factory Manager version 4.3.5
