Table of Contents
Installing, Updating and Uninstalling
Pre-Installation Notes
Before you start with the installation, you need to check the following:
- Make sure the maximum file upload size of your server is greater than the size of the component zipped kit. If not, contact your hosting provider.
- Check directory write/read permissions and adjust them accordingly. chmod for UNIX, Windows ACL for Windows. Or contact your hosting provider.
- If you intend to use the Chat Factory integration, you should check out the Chat Factory integration tutorial after installing both components.
- Always backup your website before installing, updating or uninstalling extensions!
Installation
To install Love Factory you will need a working Joomla 3.x.x installation. It is recommended to have the latest version of both Love Factory and Joomla for them to work properly.
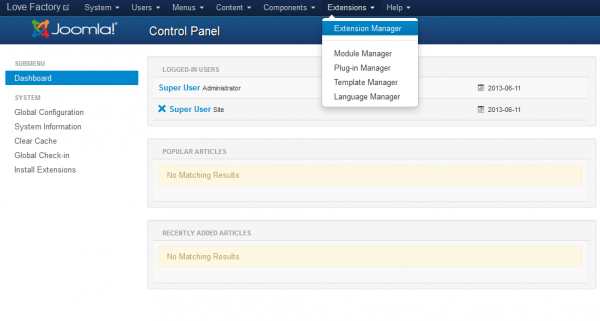
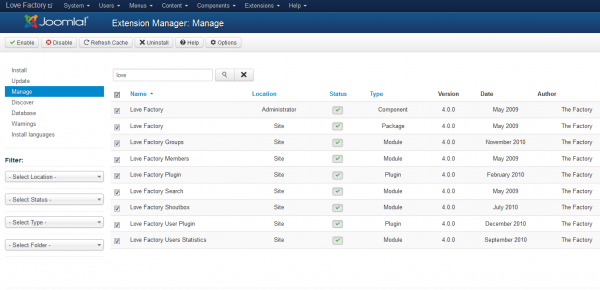
Go to Extensions/Extension Manager in the upper menu of Joomla's backend to start the installation process of our component.
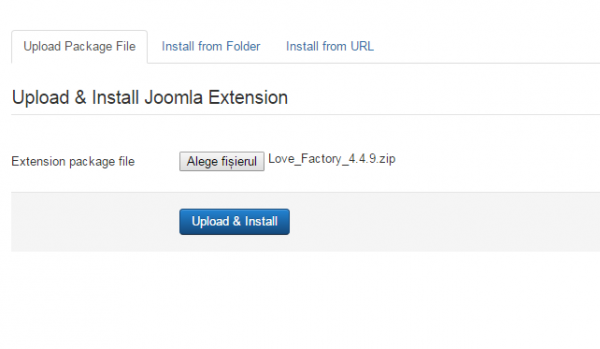
Proceed by clicking on the Browse… button from the Upload Package File area and by choosing the ZIP file from your computer. After doing so, click on the Upload & Install button to start the installation.
If you encounter any server limitations when installing the extension due to the PHP settings, you can use the "Install from folder" option as follows:
Unzip the package file and copy the address of the destination folder.
Go to Extensions/Extension Manager in the upper menu of Joomla's backend, choose Install from folder option and paste the address of the destination folder.
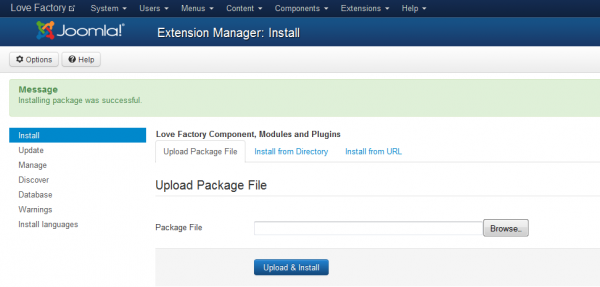
When the installation is completed, the following message should appear.
(!) All the available modules for Love Factory are found in the component kit and will be automatically installed, for more information about the modules check our Love Factory - Modules Guide.
Updating
With Love Factory installed, go to Components/Love Factory/About to verify if the component is up to date.
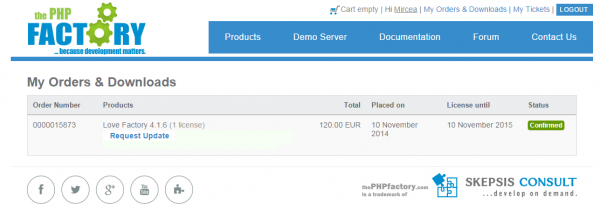
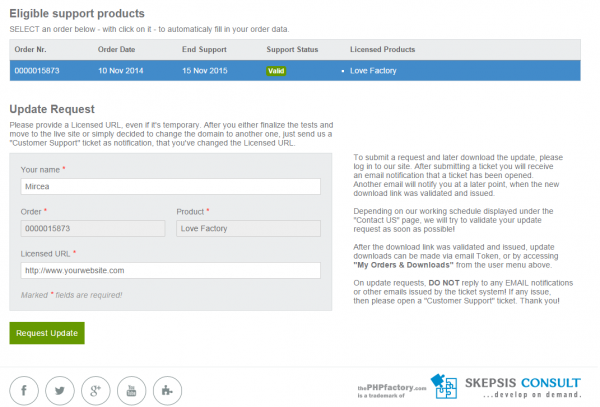
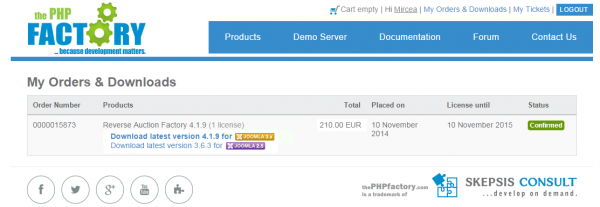
In case there is a newer version available, visit our website and log in to your account. Proceed by going to My Orders & Downloads page found on the user menu to verify if you have a valid license of Love Factory and then click on Request Update if this is the case.
Select a valid order of Love Factory if you have multiple and add a Licensed URL.
Proceed by clicking on the Request Update button.
Once the request is accepted by us, you will be able to download the latest version by using the link received on the ticket or by going to My Orders & Downloads page.
It is important to note that the ".zip" file which will be downloaded is the actual install/update file and that you don't have to extract any files from the archive.
(!) You can update the component to the latest available build on our servers from Extensions/Extension Manager even if it's same version as the previous.
Updating Love Factory to the newest version can be done by following the same steps as for installation. The update script will update the component automatically without necessitating to uninstall it. However it is recommended that you do a backup before, like for any install/uninstall/update.
When you update the component, the installation will detect that you already had a previous installed version of Love Factory and it will not overwrite the templates folder in order to preserve any changes you might have done. However, a button should appear below the message that allows you to overwrite the templates.
(!) Please note that some new features may not function if you are not using the latest product templates, so it's recommended to overwrite the templates and reapply any changes, if any.


