Table of Contents
Payments
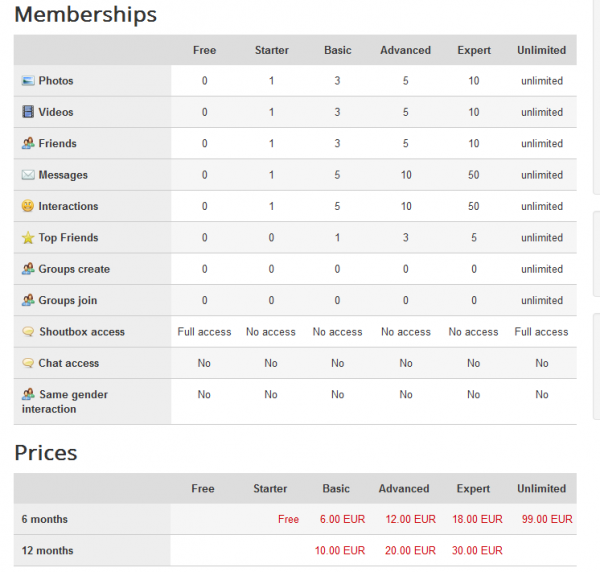
Payments on Love Factory consist of users buying memberships for the features they offer like uploading more photos, adding more friends or creating groups.
To see how a simple payment looks like on the frontend go to Memberships on the user menu. There you can check out all the categories of the memberships along with the prices for them.
Click on a price to continue with the payment.
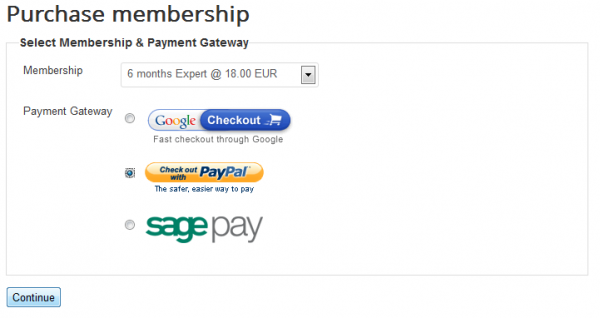
Next step is choosing the payment method. After you have done that, click Continue.
After the confirmation, you will be redirected to the payment gateway site to complete the payment.
Orders
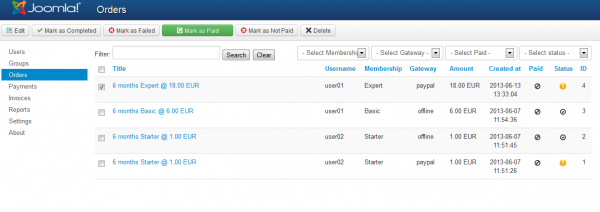
The Orders page displays a history of all orders placed on your website.
In case a payment was made for one of the orders, select it and press on Mark as Paid. By using IPNs this happens automatically.\
Order status can be changed manually by the webmaster when the payment is made. Simply check one order and click on Mark as Completed or Mark as Failed.
Clicking on a payment title will display details regarding the membership bought with that order.
Various filters can be found here, based on the following: Membership, Gateway, Paid, Order Status.
Payments
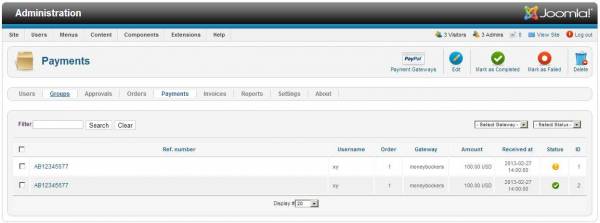
The Payments page displays a list of all orders that have been processed by the gateway and with payments received by the webmaster.
Multiple details regarding each payment are available on this page such as the amount paid, payment date, user, order number, and more.
A Filter is available that helps you find payments made by a specific username.
Invoices
The Invoices tab allows you to check the invoices for all the payments and gives you the option to export them as ".csv" files.
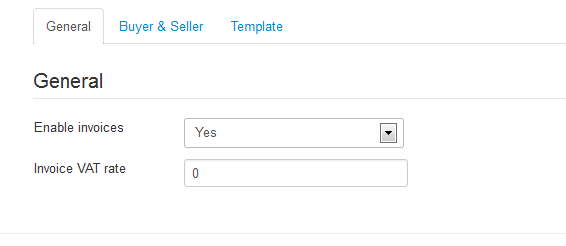
To modify the options for Invoices simply go to Settings and click on Invoices, there you will find 3 tabs.
In the first one you can enable or disable the Invoices and set a VAT (Value added tax) rate to them.
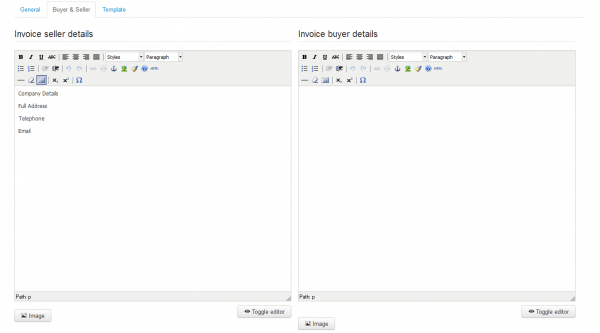
Next tab allows you to change the details for seller and buyer on the invoices.
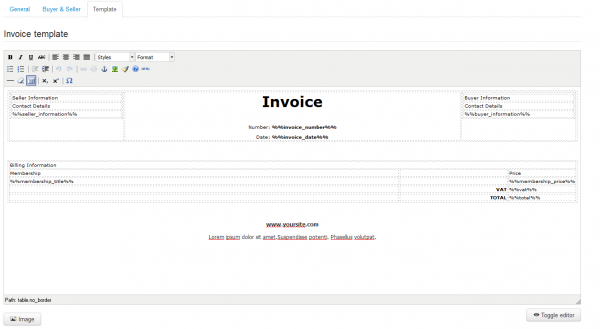
The last tab allows you to edit the Invoice template.
Payment Gateways
Love Factory comes with 7 payment gateways already implemented, by going to Settings and clicking on Payment Gateways you can enable, disable or edit them.
Google's Checkout - Discontinued by Google and Removed from Love Factory version 4.1.5 !!!
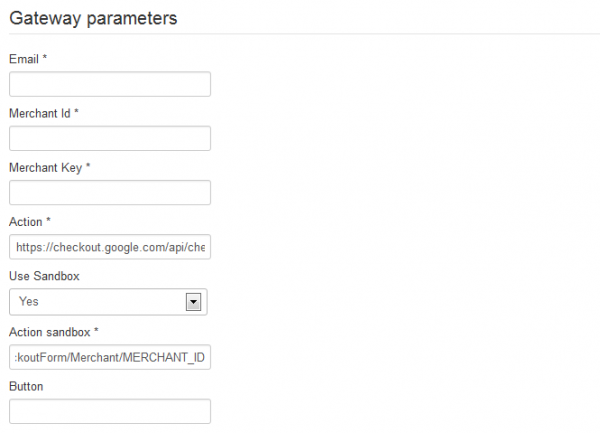
For all gateways you can change their titles, logo or status. Each of them has specific parameters which need to be filled for them to work. In Google Checkout's case you will need to add, as parameters, an email, merchant id and key, and also an action link. For testing purposes, you can also activate it as a sandbox version.
iDeal Ing
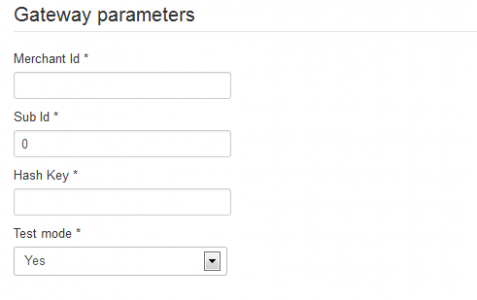
For iDeal Ing you will have to set up a merchant and sub Id and a hash key.
Skrill (Moneybookers)
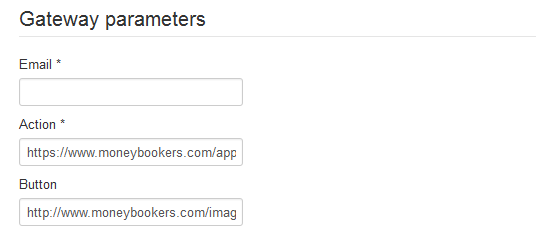
The required parameters for this gateway are an email and action link.
Offline
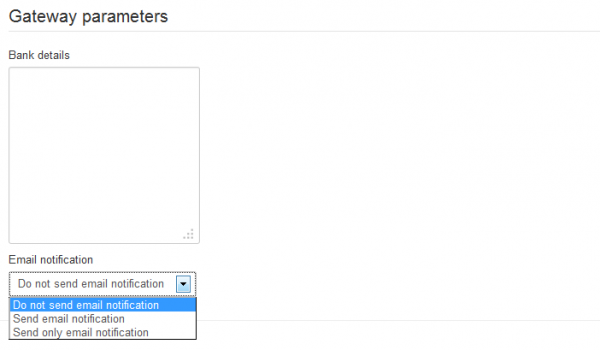
For offline payments you can add some bank details along with the option to enable email notifications for this type of payment.
PayPal
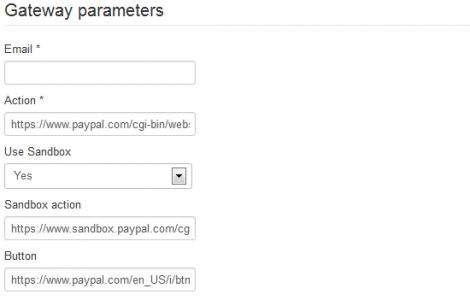
In PayPal's case you will need to add, as parameters, an email and an action link. For testing purpose you can also activate it as a sandbox version.
Sage Pay
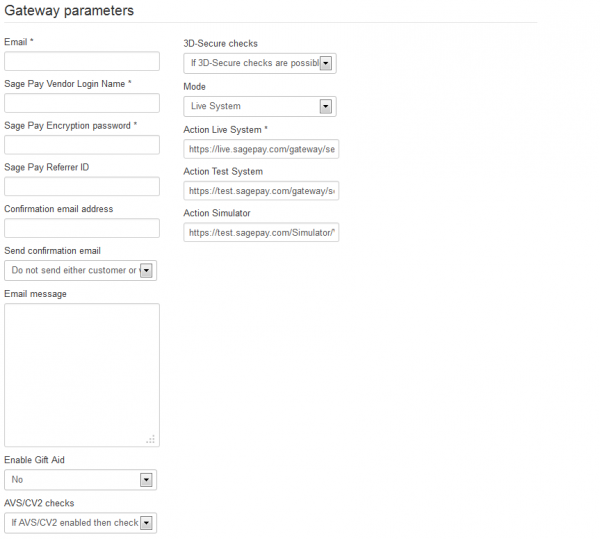
With Sage Pay you will find many optional fields that help you customize the gateway and some required ones such as vendor login name, password and action link.
Target Pay
For this gateway you will have to add a Layoutcode which is a TargetPay ID, not your customer number.
Please Note: In order to correctly translate the scripts for each Payment Gateway, the same principle applies as with any language files, as explained under http://thephpfactory.com/customer-faq#language. The path for the Payment Gateways files is:
[Joomla dir]/administrator/components/com_lovefactory/payment/language/en-GB
(!) Documentation based on Love Factory version 4.4.9


