Table of Contents
Love Factory User Guide
The Love Factory is a Joomla 3.x Dating and Matchmaking component with all the common social interaction functions and more. Users can send each other messages, leave comments, upload pictures or videos, leave ratings, join groups, do different forms of interactions, etc.
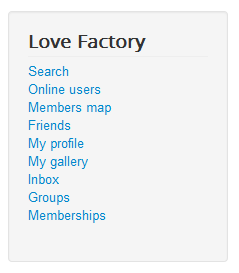
Here is how Love Factory menu is displayed for registered users:
Of course you can set up these menus as you need - using Joomla's standard menu management.
(!) It is very important to know that depending on your membership you can be limited on some actions which are set by the administrator; like the number of friends, photos and videos added, messages and interactions sent, access to the shoutbox, joining or creating groups and more. Purchasing a higher membership can increase access levels, depending on the configuration!
Creating an Account
To start, you will have to create an account. Click on Create an account from the Joomla login menu and add your details.
For this guide we will be using the Love Factory's registration form.
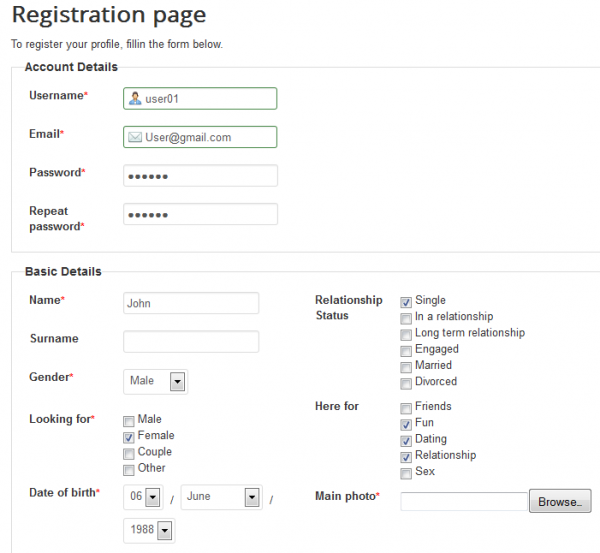
First things are the account details: write the username, a valid email address and password. In case the username is taken or the email address is invalid, the respective field will be marked with red.
Below these are the basic details, the marked fields are required. Here you can add your name, surname, gender (male, female, couple or other), a picture of you, your birthday and your interests.
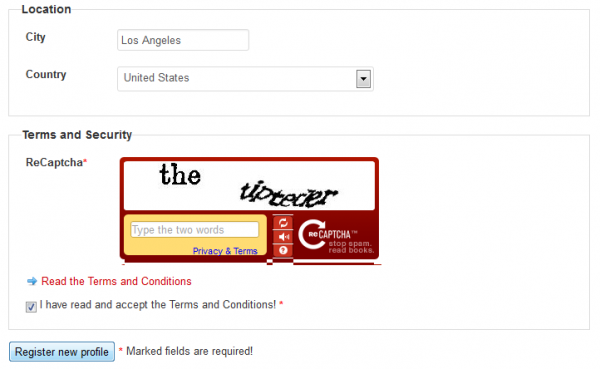
Afterwards, you can add the location details such as your city and country.
Last things you must do are to add a ReCaptcha and to read and agree with the Terms & Conditions.
After you have done all of these, click on Register new profile.
For the T&C you need to create a Joomla article with the Terms and Conditions and assign is in the Fields section of the Love Factory Admin.
Select that article on the Term field parameters. When users click on the Terms and Conditions link when registering, they will be redirected to the Joomla article that contains the
Terms and Conditions. Joomla ACL and settings take over from here, so make sure that article is public.
Removing an account
Starting with Love factory 4.4.3, users are now able to remove their accounts. Go to My Profile/ Settings and press the Remove Account button in the bottom left corner.
My Profile
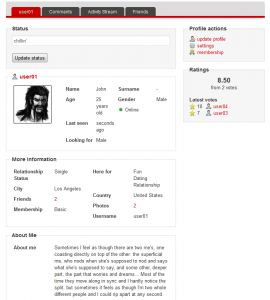
By clicking on My Profile you can view your details, average rating or to update your status.
Update profile will allow you to modify all details regarding your profile.
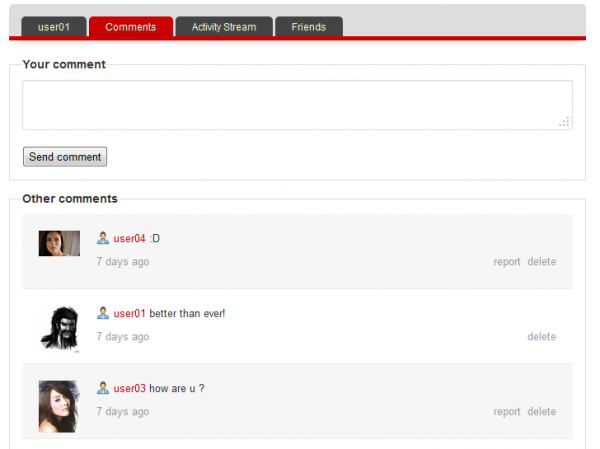
On the Comments tab you can check all comments made on your profile by other users or to comment yourself.
If someone posts a comment that offends you, you can click on Report and an admin will look into it.
You can also delete any comment and post comments on your profile.
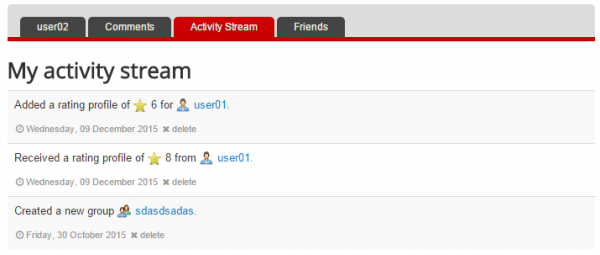
Activity Stream tab displays a short history of the recent actions that involve your user such as uploading new photos, receiving new comments or joining new groups.
Here is a complete list of actions which will be displayed on the Activity Stream:
- User changes status
- User uploads new photo / new photo is approved
- User receives a new rating
- User receives a profile comment / profile comment approved
- User receives a photo comment / photo comment approved
- User receives a video comment / video comment approved
- User adds new video / new video is approved
- User makes a new friendship
- User makes a new relationship
- User creates a new group
- User joins a group
Some of them might be unavailable since the administrator can disable them or disable the stream altogether.
It is also important to know that some activity notifications will be displayed only upon approval if the approval system is enabled by the administrator.
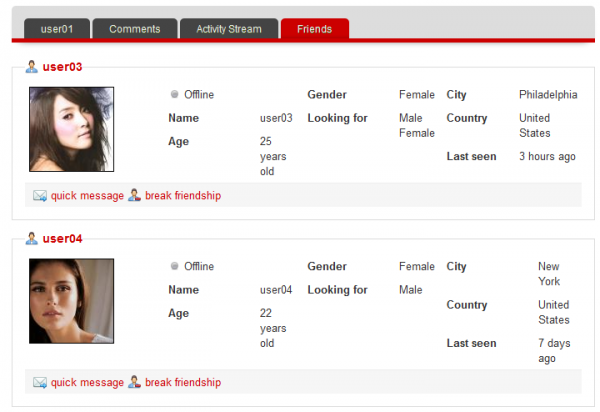
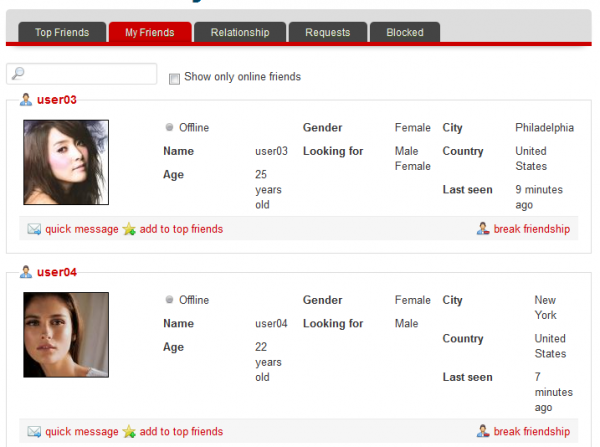
On Friends list you can view all your friends, allowing you to easily access their profiles, send quick messages, or if needed, to break the friendship.
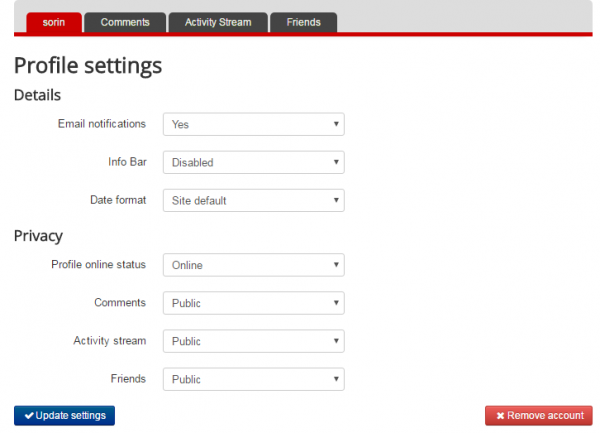
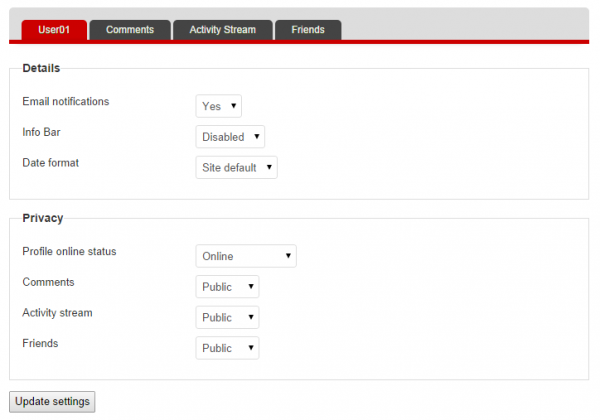
Now lets take a look at the Settings area from My Profile. It is important to know that this page can have less options depending on the backend configuration made by the administrator.
For various actions made by or regarding your account you can receive notifications such as when a new message is received or when your membership is about to expire. Toggle Email notifications to "Yes" to receive them.
In case Info Bar is enabled by the administrator and your membership is eligible for it you can choose its location (Top or Bottom) or to disable it.
Choose how date format is displayed from your account, “d” stands for Day, “m” for Month and “Y” for year.
For a better privacy, you can change your Profile online status from "online" to "private" or "only for friends".
Here you can also set different privacy levels for your profile tabs: Comments, Activity Stream and Friends.
My Gallery
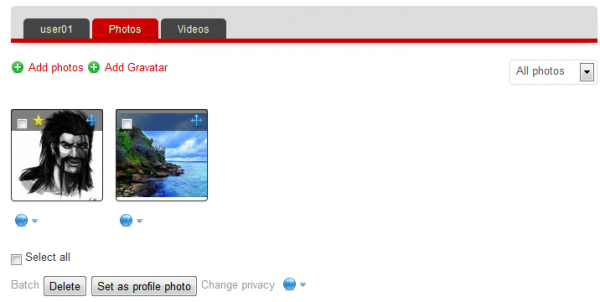
In this section you can manage your photos and videos, you can add new ones, delete the ones you already have, set a new profile photo or add Gravatar if this feature is enabled from the backend.
Clicking on Add photos will popup a new window, there, clicking on Select files will open the explorer window where you can select the picture you wish to upload.
To delete photos simply select the one you want to remove and click on Delete.
To change the profile photo select a photo and click on Set as profile photo.
If you want to arrange the pictures in a particular order simply click and drag them in the order you desire.
Clicking on the blue circle will allow you to change privacy settings for the selected photos/videos, you can change from "everyone" to "friends" or "only me".
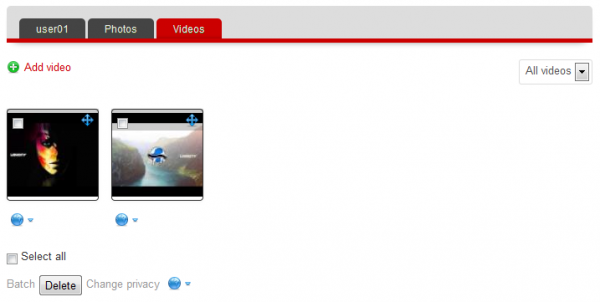
On the Videos tab you can manage the files the same way as for photos.
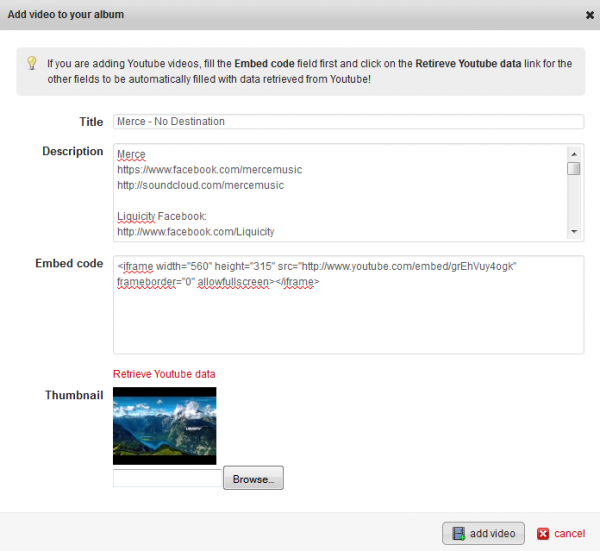
Clicking on Add video will display a new window which allows you to embed videos from various websites such as YouTube, Dailymotion, Vimeo and other that provide embed codes.
Copy & paste the code onto the Embed code field and add a Title for the video you wish to add. Optionally, a description and a thumbnail can also be added.
In case you wish to add a Youtube video, add the embed code and click on Retrieve Youtube data, this will automatically fill all the available fields.
When you are done, click on add video to append the new video to your gallery.
Interactions
Interactions are ways to socialize and interact with other people.
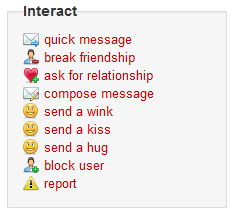
When looking at other people's profile you get some extra interactions like sending a wink, kiss or hug, sending messages, asking for friendship or relationship, or in case of abusive behavior to block or report the user.
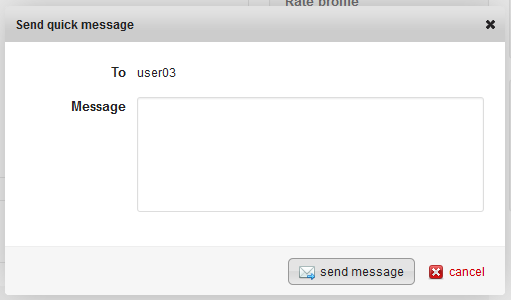
By pressing on Quick message a popup window will appear where you can write your message in a quick and easy way.
The same type of popup window you will also get when you will click on Ask for friendship or Ask for relationship, the request which you have made will come together with the message written in the text field.
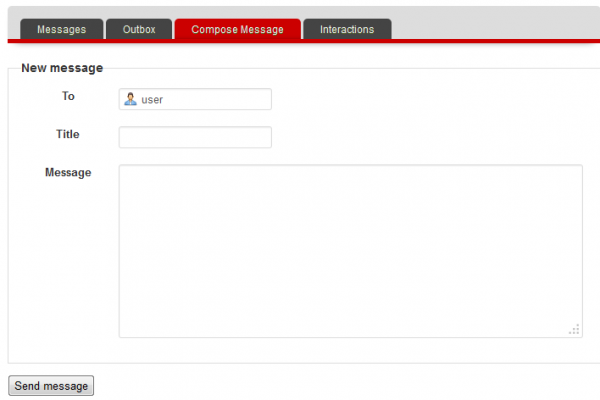
By clicking on Compose Message you will be redirected to the Inbox area where you can write the new message along with a title.
The name of the user you wish to send the message will be inserted in the first field.
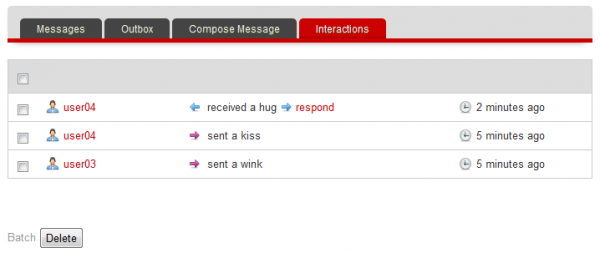
The next interactions are to send a wink, hug or kiss, these can be edited or replaced with other interactions by the administrator. If you click on any of these, the user will find it in his interactions menu, where he will have the option to respond back to you.
If you find your Interactions list too full, you can select them and click on Delete.
Clicking on Block user will automatically ignore all his messages and interactions towards you. To unblock him you can either click on Unblock user from the same menu or go to Friends section from the user menu, click on the Blocked tab and select him and click on Remove.
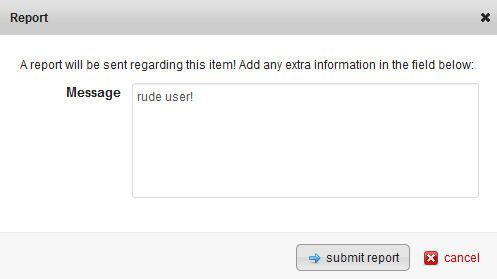
In case you consider that an user has an abusive behavior you can click on Report, write the reason in the popup window that will open and click on Submit report.
An administrator will review it afterwards in backend.
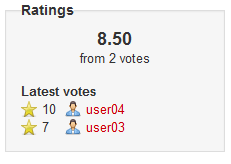
When viewing another user's profile you can also rate it from 1 to 10, see other people who have rated it and how much.
Inbox
The messaging system allows you to quickly interact with other users and friends.
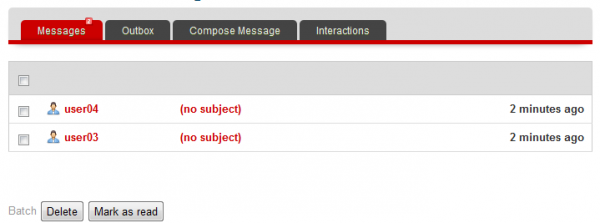
By going to the Inbox section you can check your received messages, interactions, messages sent or to write a new message.
A little red square will appear above the Messages and Interactions tabs with a number on it representing the number of new messages or interactions received.
Messages can also be deleted by checking them and clicking on Delete.
Friends
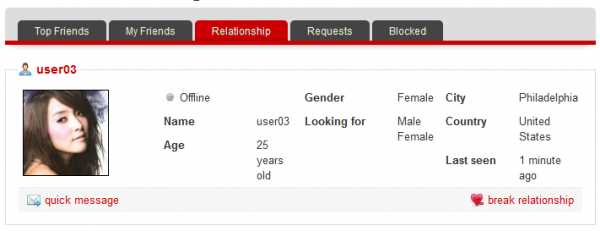
On Friends page from the user menu you can see all your friends, send them messages, add or remove them from top friends or break your friendship.
On the left side you will see Top friends tab that consists of a list with the top friends you have selected. On the right side you will find the Relationship tab were you can view the user which is involved in a relationship with you or to break the relationship.
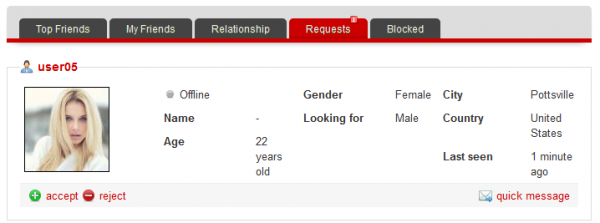
In this section can also view your friendship/relationship requests in the Requests tab and to accept or reject them by case.
Groups
With Love Factory you can create or join groups if the membership you have allows you to. With this feature you can join the same group with your friends and socialize by making threads.
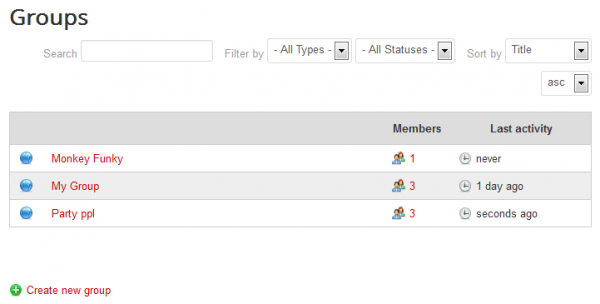
Go to Groups from the user menu, there you will find all the groups already created by other users.
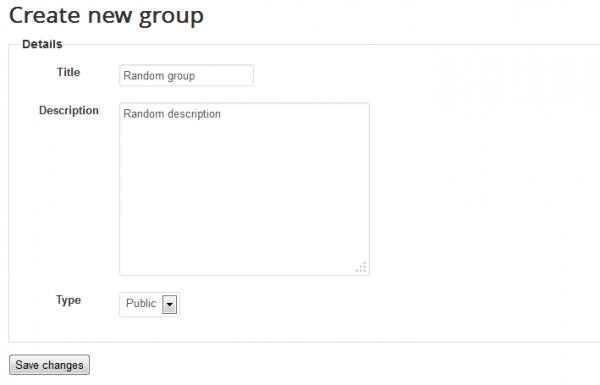
Click on Create new group to make a new one.
Add the title, a description and if you wish the group to be public or private. Making the group private will require users to become members of said group before posting in it.
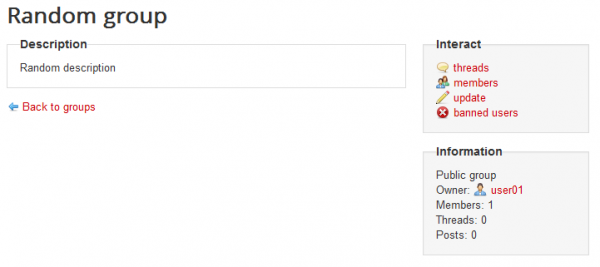
Here is how the main page of the newly created group will look like.
Threads area is where the people who joined the group can create new threads or just post on threads already made.
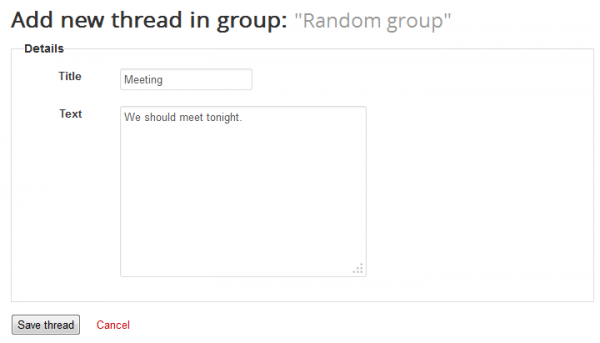
Click on Create new thread and add your title and the text you wish to write. Click on Save thread when you are done.
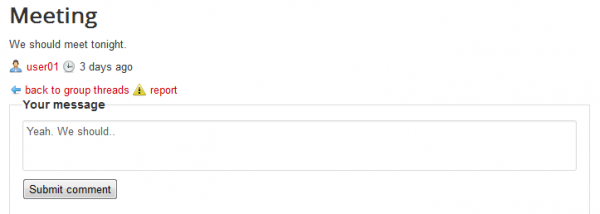
To comment on a thread click on it and type your message, then click on Submit comment.
In case you are the one who created the group or the thread, you will also have the options to delete it, report it or ban the user from your group.
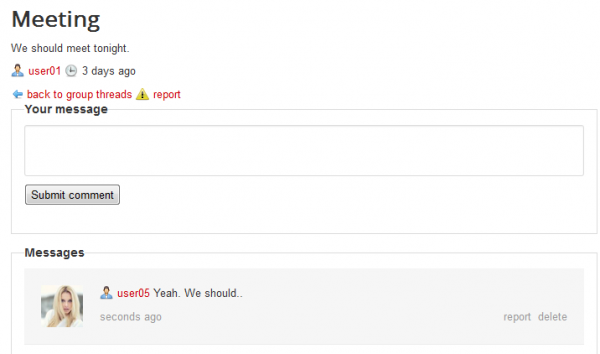
Here is how the comment we just made looks like on the thread:
Back to your group's main page you have 3 more sections, in the Members area, as an administrator of it you can view, remove or even ban the users who joined your group, an Update area where you can update the title of the group, description and to toggle from public to private, and the last section, the Banned Users where you can check and remove from the list the users that got banned from your group.
Searching
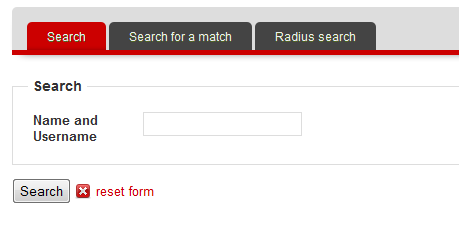
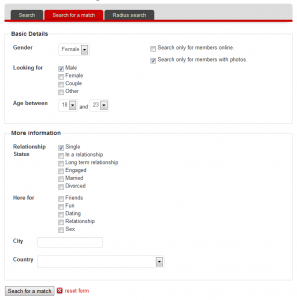
The Love Factory has three search versions, a quick search, an advanced search and one using Google maps.
The quick search form only has one field which allows you to search adding the name or username.
The advanced search form has many more options like gender, what are you looking for, age between, relationship status, location and more.
If you are an administrator and wish to expand the search form, follow the tutorial under this page.
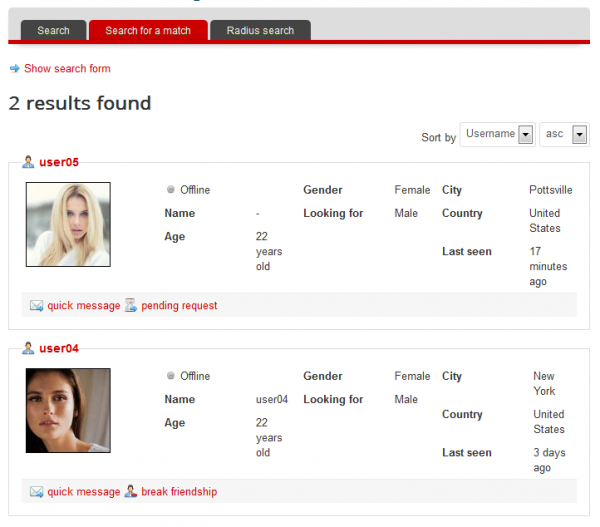
Both these search forms have display options for your search, they can be sorted by: Last Seen, Rating and Username and also ordered as Ascending or Descending.
The search results will be displayed in a list based on your criteria.
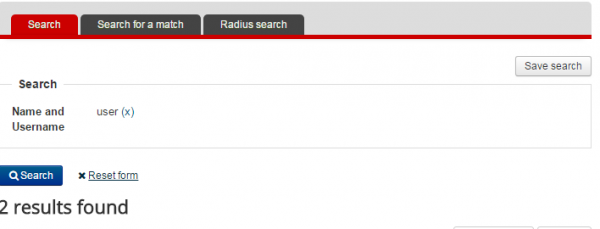
Starting with Love Factory 4.4.5, search values will be saved within the search form. If you want to search for new things, simply reset the form.
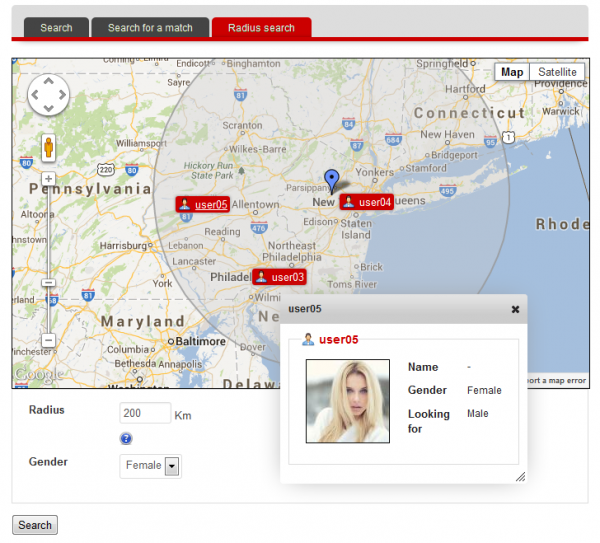
The radius search uses Google maps and allows you to move the blue cursor anywhere around the map. To search for members in the area around the cursor firstly add the radius and the gender you wish to find. After doing so click on Search and check the results.
Infobar
Infobar is a simple, yet very efficient feature that will make user's navigation around the site even easier. The shortcuts may vary depending on what the Administrator decided to include.
When you get a new message, comment, interaction or request a red square with a number on it will be displayed above the respective button, depending on how many you have received.
Besides those notifications you can also go to areas like Friends, View Profile, Update Profile, My Gallery or you can even logout from it.
In case the Administrator decided to allow the users to change it's position, you can choose to display it on top, bottom or disable it.
Shoutbox
Love Factory comes with a Shoutbox module that can be enabled by the Administrator in the backend. Depending on your type of membership, you can use it as a live basic chat.
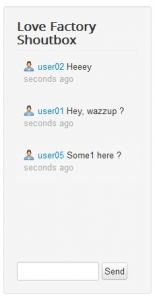
It contains a text field where you can enter your message and a "Send" button next to it. On the upper part of the module you will see all the messages written by you and other users, clicking on a username it will open his profile.
(!) Documentation based on Love Factory version 4.4.9


