Table of Contents
Configuration
Love Factory is a dating and matchmaking Joomla extension, with fully editable member pages and configurable fields along with multiple social networking features.
To edit some of the features go to "Components/Love Factory/Settings" in the Joomla backend.
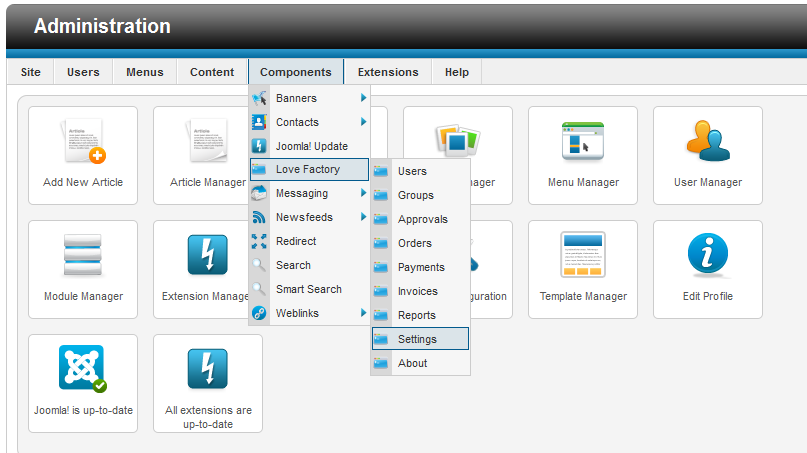
Next, click on "General Settings".

General
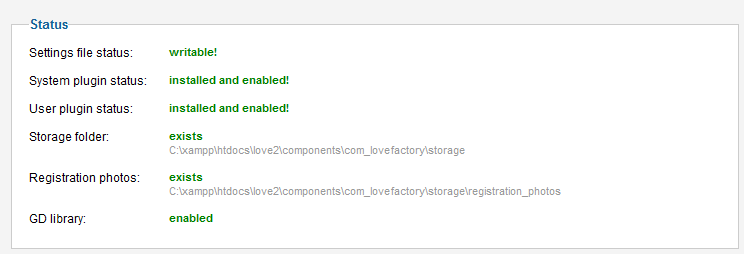
The first thing you will find here is the system status like settings file, system plugin, user plugin etc.
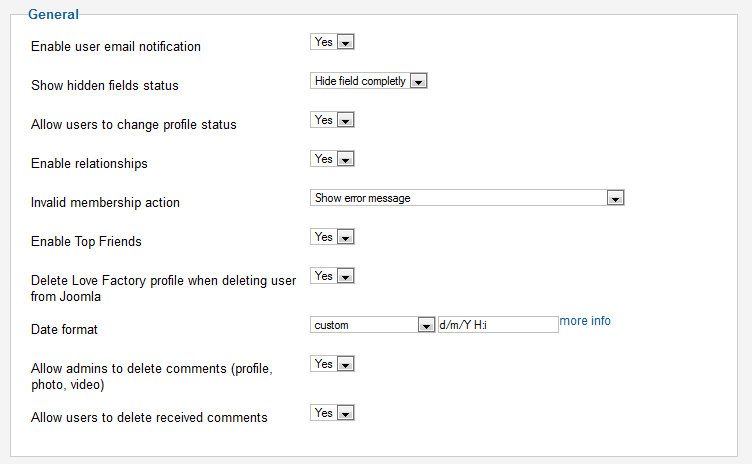
In the "General" section you will find the basic settings for the extension.
First option is to enable or disable the notifications send to the users via email.
Below this you can change the option so that users can hide specific fields from their profile by toggling the status or simply hide them completly.
Next option allows users to toggle their online status from Online to Offline or Only for friends.
You can enable or disable the relationships or top friends features by toggling Yes/No.
In case someone made an invalid action regarding his current membership status you can either show him an error message or you can also redirect him to the Membership Plans page.
To manage easier the users you can enable the option to automatically delete Love Factory profile when you delete user from Joomla. This will require Factory User plugin to be enabled.
You can change the Date Format, in case you do not like any of the formats implemented you can set a custom one. Clicking on "more info" will link you to a php manual for custom format.
Furthermore you can set or remove restrictions like allowing admins to delete comments and users to delete received comments.
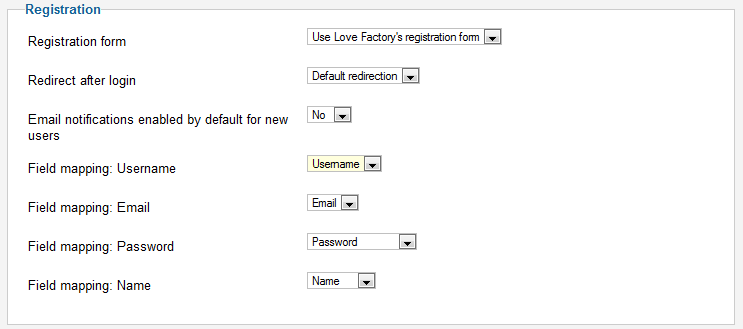
In the next section you can opt to use the standard Joomla's registration form or the Love Factory's one. In case you chose the second one, you must have the Lovefactory Plugin enabled!
"Redirect after login" option allows you to redirect users to a specific page after logging in.
You can set that new users to have email notifications enabled by default upon registration.
Next options are for field mapping, here you can select the fields that will be used as username, email, password and name when registering a new profile.
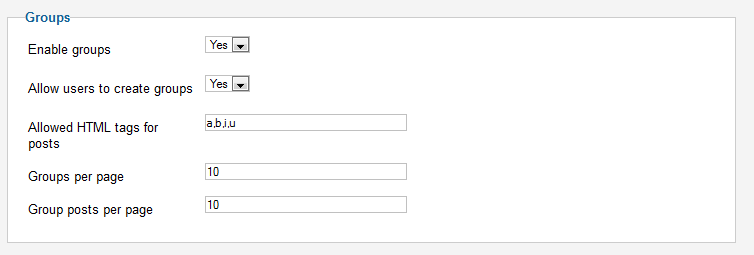
In the "Groups" section you can enable the feature and allow users to make groups, allowing others to join as well and interact better making threads visible only to the users in that group.
Here you can also set which HTML tags are allowed for posts and how many posts or groups will be showed per page.
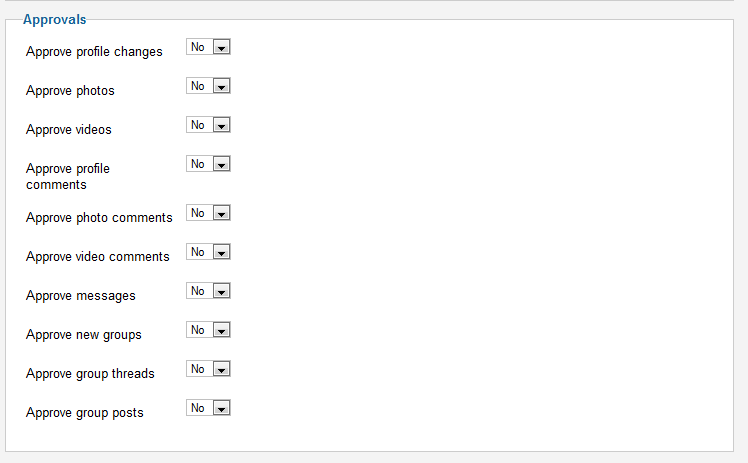
"Approvals" section is where you can set which actions made on frontend will require approvement on backend.
Here is a list of the available actions:
- Approve profile changes
- Approve photos
- Approve videos
- Approve profile comments
- Approve photo comments
- Approve video comments
- Approve messages
- Approve new groups
- Approve group threads
- Approve group posts
You can set the maximum size of width and height of the photos or their thumbnails uploaded by the users or the maximum size of the photos (in MB) from the "Photos" section.
Other options found here are to set a default extension for photos or to store all the photos in the same folder or in separate user folders.
Also, in case you want the default member photo to be personalized on the user's gender, you can upload an image with the chosen id of the gender in the "/components/com_lovefactory/storage/defaults" folder.

Page Settings
From the "Page Settings" tab you can enable or disable features available for specific pages.
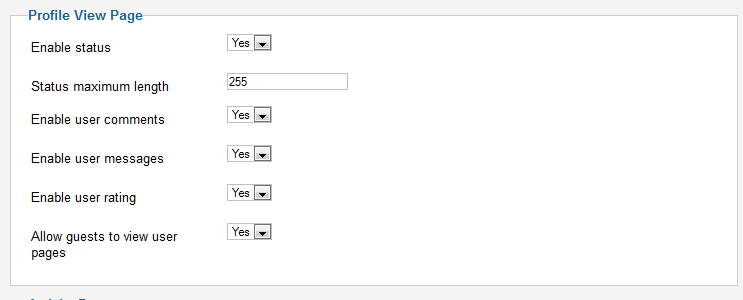
On their own profiles, users can set statuses, you can enable or disable this feature, if enabled you can also set a maximum length for them.
Other options that you can enable or disable on the "Profile View Page" are user comments, user messages, user ratings or to allow guests to view user pages.
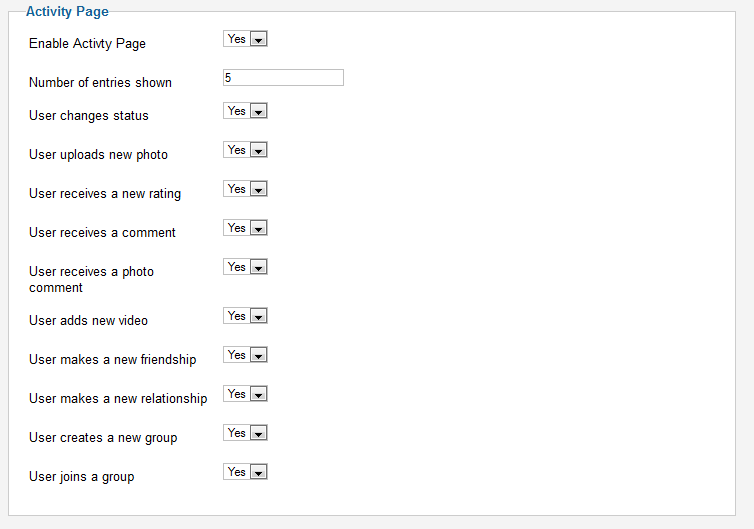
"Activity Page" section is where you can enable the "Activity Stream" page that is found on any profile and that contains a short history of the recent actions made by that user.
If enabled, you can change the maximum number of entries shown and which actions will be shown on the Activity Stream, such as uploading a new photo, adding a new video, joining a group or changing the status.
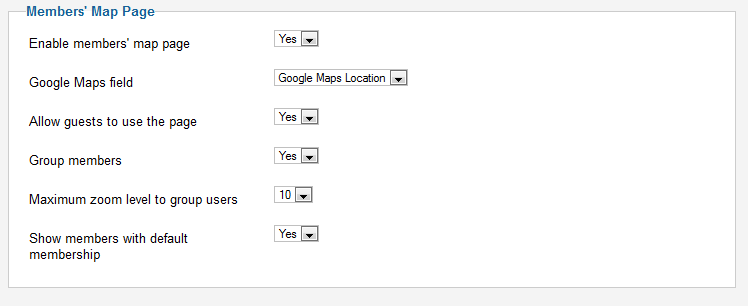
In the "Members Map Page" area you can enable or disable the page with the same name that you will find in the user's menu. For this page to work properly you will need to activate Google Maps on your website. More on this in the "Integrated" section.
Next option you will find here is if you want to allow guests to have access to this page, in case you want to hide this page for them simply toggle it to "No".
For users that are in groups, you can enable the next option so they will see other group members overlapping normal members on the map, also you can set a maximum zoom level to group users.
Last option is to show or hide the users with default membership from the map. Toggle it to "No" to show only the users with higher membership.
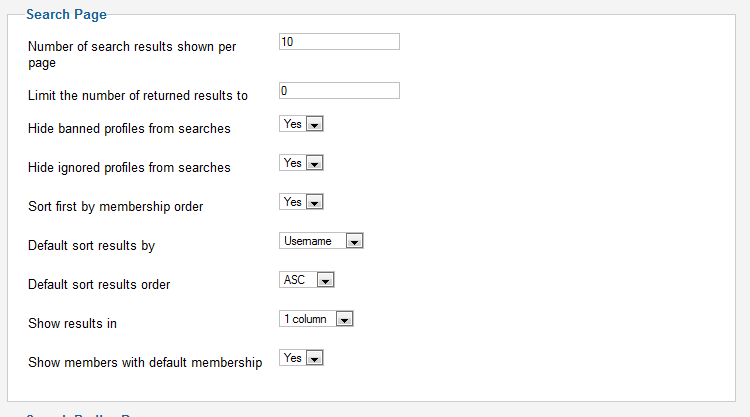
Next thing you can modify here is the "Search Page". First field allows you to change the number of search results per page.
Below that, you can limit the number of returned results per search, this is useful to reduce the server load, enter "0" to show all.
Next two options allow you to hide banned or ignored users from the searches.
Results are shown under a predefined criteria, you can change this here, the default sort results can be by "Username", "Profile rating" or "Last seen". The order can be ascending or descending. Also you can enable the option for results to be sorted by membership order and then by the selected criteria.
You can select the mode to display the results, in 1 column or 2 columns.
Last option is to show or hide the users with default membership from the searches. Toggle it to "No" to show only the users with higher membership.
Next section is named "Search Radius Page", you can find this page as a tab in the Search page. For this tab to work properly you will need to activate Google Maps on your website. More on this in the "Integrated" section.
Firstly, activate the page and assign the mapping field for it.
Next option you will find here is if you want to allow guests to have access to this page, in case you want to hide this page for them simply toggle it to "No".
For users that are in groups, you can enable the next option so they will see other group members overlapping normal members on the map, also you can set a maximum zoom level to group users.
Last option is to show or hide the users with default membership from the map. Toggle it to "No" to show only the users with higher membership.

Add which HTML tags are allowed when embeding video code in the last field.

Interactions
In this tab you can enable interactions between users like kiss, wink and hug.
If enabled, users can verify these interactions from the Inbox menu and then clicking on the "Interactions" tab.
In case you want to activate only one of them simply toggle to "No" the other two.

Info Bar & Shoutbox
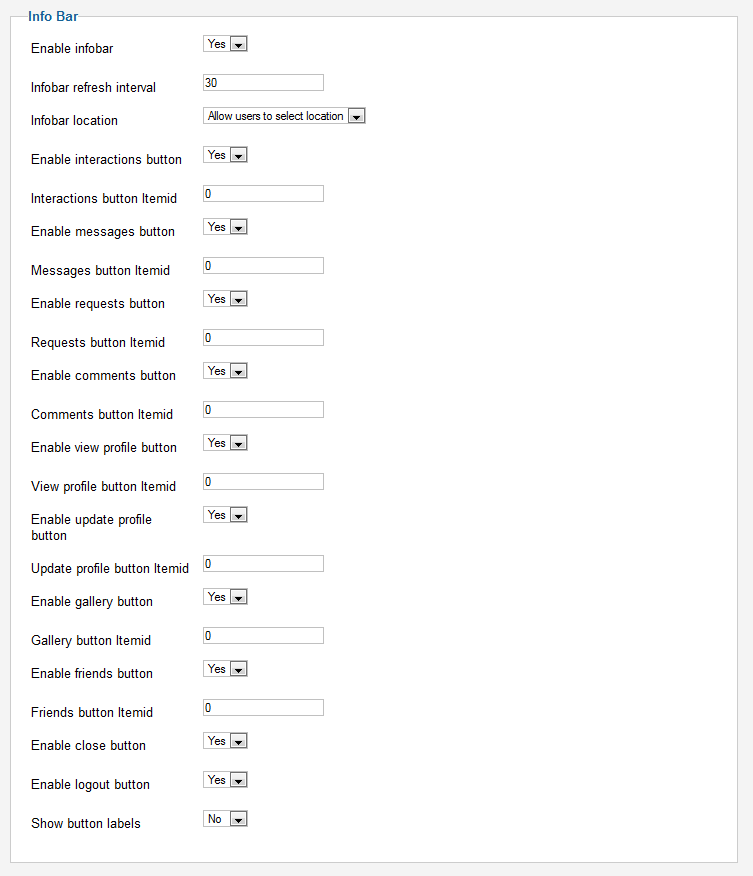
Info Bar displays information about new messages, interactions or new friend requests. If enabled, you can change many settings like the refresh rate and what it displays.
You also need to have Love Factory Plugin enabled to use Info Bar.
For start, you have the refresh interval in seconds, and below that, the location of the Info bar, top, bottom or you can allow users to select the location from their profile settings.
Next, you have the buttons that will be displayed on the Info Bar that you can enable or disable individually, here is a list of them:
- Interactions button
- Messages button
- Requests button
- Comments button
- View profile button
- Update profile button
- Gallery button
- Friends button
- Close Infobar button
- Logout button
Last option allows you to show or hide the names of the buttons next to their icons.
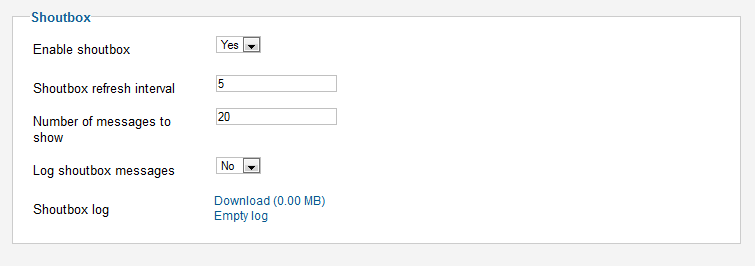
The Shoutbox allows users to communicate instantly as a group, enable it to activate all the settings.
You also need to have Love Factory Shoutbox module enabled to use it.
After you enabled the Shoutbox you can edit the refresh interval which is displayed in seconds, you can enter "0" for no refresh.
In the next field you can edit the maximum number of messages to be shown.
Last option enables a log for messages in the backend, below this option, in case you enabled the option you can later download the log or empty it.
Integrations
In the "Integrations" tab you can enable and edit some useful features available for Love Factory, these are Chat Factory, ReCaptcha, Gravatar and Google Maps.
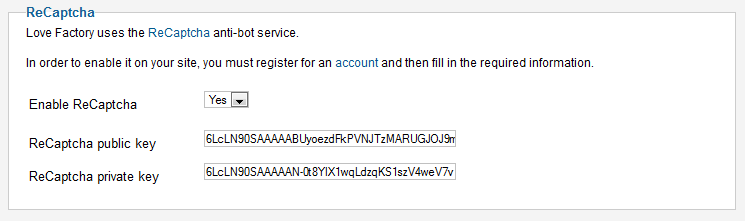
reCAPTCHA is an anti spam solution integrated into Love Factory.
To get reCAPTCHA public and private key visit this website.
Enabling "Gravatar" will allow members to add their Gravatar as a regular photo. User's registration email will be used.

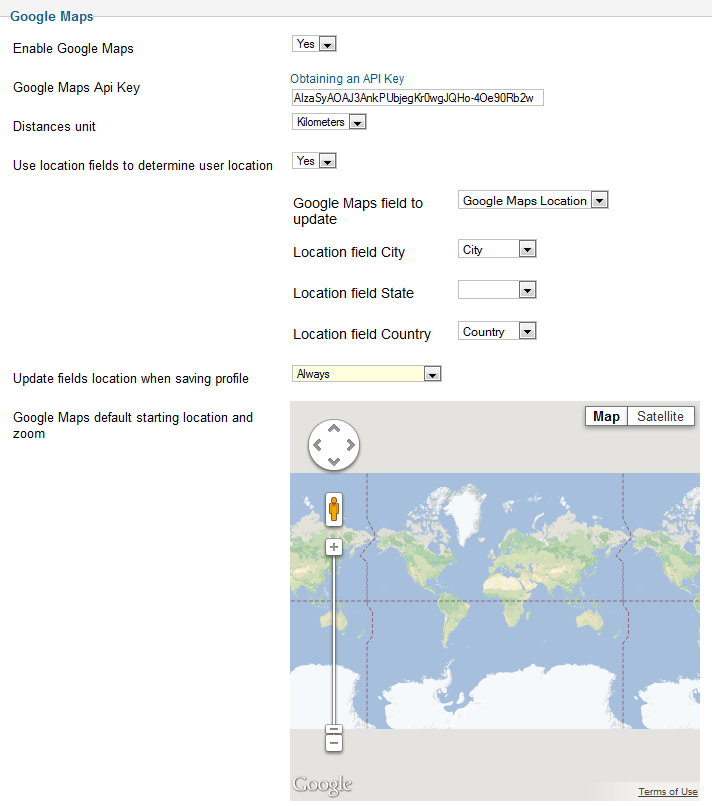
Next, you have the "Google Maps" section where you can set this to show in the "Members Map" and "Search Radius" areas.
Enable the feature and click on "Obtaining an API Key", follow the instructions from their website and add the API Key.
On the following fields you can change the distance unit from kilometers to miles or to use the location fields set on user's profile to determine the location of the user on the map.
Below these you can chose when to update the location, when the profile has been modified or always, even if no changes have been made.
Last thing you can edit here is to set the default starting location and zoom of the map.
Banned words
In this tab you can filter specific banned words by enabling the option and adding the words in the text area. Add one word per lane in lowercase.

Cron Jobs
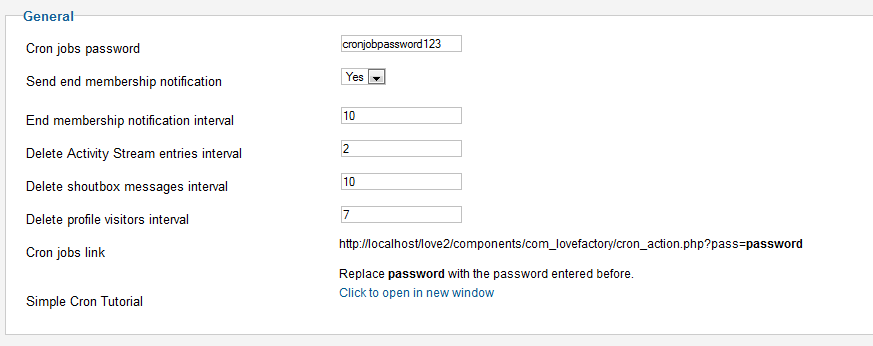
Under the "Cron Jobs" tab you have some tasks along with a link to a simple Cron tutorial.
The available settings here are to enable a notification sent to the users when their membership ends and the remaining days before this will be sent, and also, to modify intervals for when to delete activity stream entries, shoutbox messages and profile visitors.
System Information
In this last tab you will find various informations about some Joomla and PHP settings.
