Table of Contents
Listing and Payment
Prices
As a good revenue stream for your website, you need to set up prices for the multitude of advertisements that can be enabled so that users can purchase them.
On the Prices page from backend you can manage the pricing of the ads by adding new ones or editing the ones already made.
Before starting to add prices, be sure that the modules needed for banners, links and thumbnails advertisements are enabled and configured.
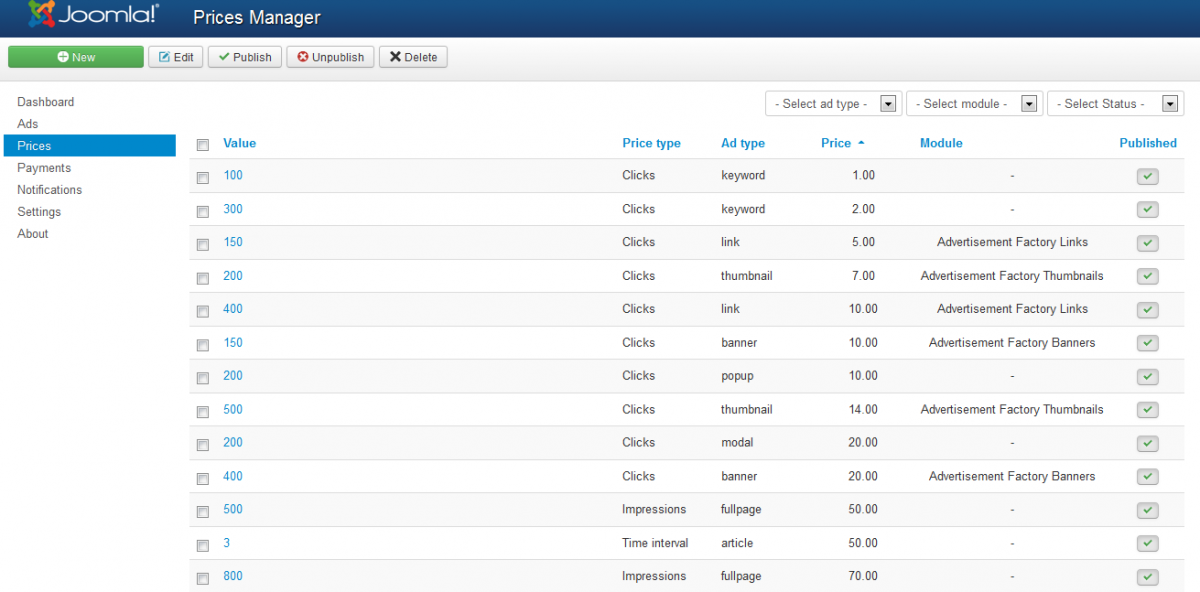
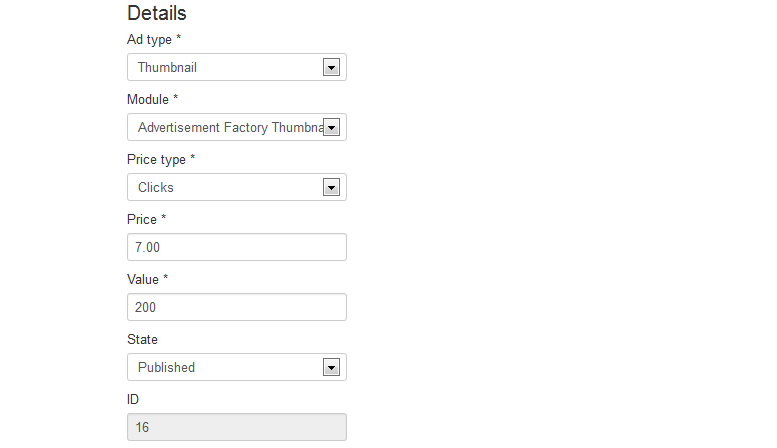
Clicking on New will redirect you to a form where you can create new pricing. Firstly you will need to select which Type of advert you wish to assign the pricing to and to select its respective Module if required.
Select on which way the availability of the respective ad will be counted from the Price Type field. Depending on which type you choose and on the module configuration you can select either by Clicks, Impressions (Views) or Time Interval. Add the Price needed to be paid for this type of ad and for how many clicks, views or for how many months it will remain displayed.
Select the State of this pricing to either Published or Unpublished.
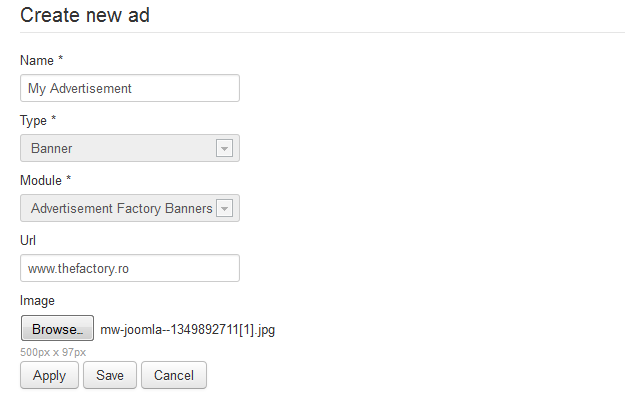
Creating Advertisements
Creating new ads can be done either from My Ads page which will make the ad unpublished until payed or directly when purchasing ads from the Available Advertisements page.
Each type of ad features different fields, some of them being required before saving the respective ad.
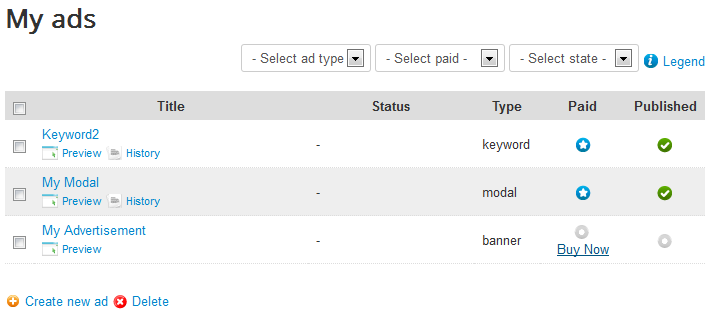
Buying Advertisements
If you have created the ad from the My Ads page it will appear on the list marked as unpaid and unpublished.
Click on Buy now for the respective advertisement to purchase it.
A list of available pricing should be seen next, depending on which type of advertisement you have created. This list of prices can be configured by the administrator as seen at the top of the page.

Furthermore you will need to select the payment gateway that will process your payment.
The list of available gateways can also be managed by an administrator so this option can be different.

Depending on which gateway you have chosen, you will need to confirm the purchase. For this example Paypal is the one used.
Click on Buy Now and wait for the payment to be processed.

Payment Gateways
By going to the Payments page in the backend you will find all the payments that have been processed by the gateways.
Clicking on the Payment Gateways button it will display a list of all the available gateways installed with the component that you can manage.
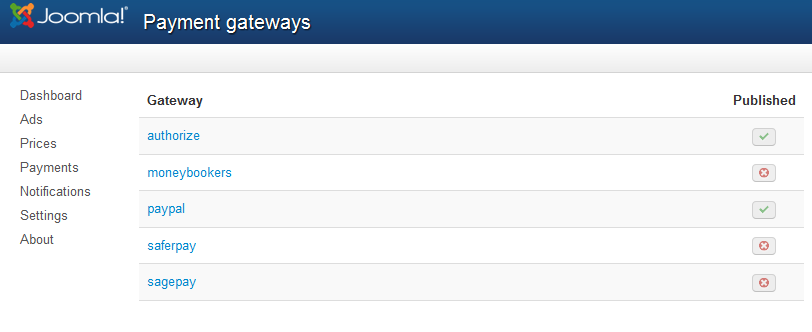
The following gateways are available by default, they will require additional configuration before enabling them:
Authorize.net
Requires you to add API Login and Transaction Key, these are used by the payment gateway to authenticate that you are authorized to submit Web site transactions. Transactions that cannot be authenticated by the payment gateway using these values are rejected. Another required field is the Action one, the respective link opening up and showing transaction details.
Moneybookers
Requires you to set the Email address and to add the Action link.
PayPal
You can enable PayPal Sandbox as a testing area during the development of your store. With sandbox enabled no payments will be taken.
Along this, you will need to add an Email address and an Action link.
Saferpay
For the configuration of this gateway you need the Account-ID that can be found in your customer account at any time.
Sagepay
Sage Pay requires that you make one test transaction and one test refund before enabling your live payment processing server.
When you have completed your testing on the Test Server, you will need to test your Live account to make sure that you are able to process transactions with the banks.
The Test and Live Accounts are identical, the only difference being that the Live account is connected to the banks and thus transactions will be settled.
(!) Documentation based on Advertisement Factory version 3.0.0