Custom Fields for thePHPfactory Components
Custom fields can be added and configured without any PHP or HTML knowledge. ThePHPfactory auction components feature an easy-to-use interface to create fields, add field values, insert and position fields into the template and also delete or unpublish them later.
This Tutorial is valid for the following components:
- Auction Factory
- Reverse Auction Factory
- Penny Auction Factory
- Dutch Auction Factory
- Raffle Factory
- Jobs Factory
- Ads Factory
- Swap Factory
The Custom Fields management area can be reached from the component Control Panel.
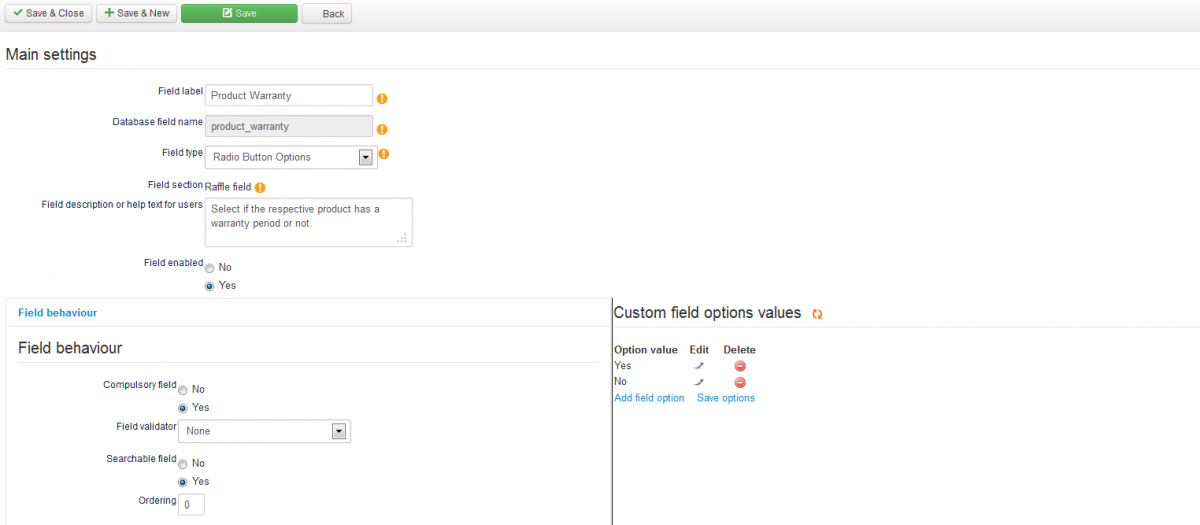
The first step is creating the specific fields you require. The Field Label is the name of the field which will be displayed on the frontend. The Database field name will be used in the code and database.
There are numerous Field types you can choose from, like: Checkbox, Radio Button, Text Area, Date Picker, and more.
Field section will check if the field is made for user details or for an auction/ad/job (depending on the component). Once you made the selection, the field will be eligible for adding on one of the templates. As an example for Auction Factory, selecting the "User Profile Field" section will allow you to add the field to the user's details page,both on the frontend and backend, while selecting the "Auction field" will allow you to display it on multiple pages such as the listings, watchlists, auction details, etc.
You can also add a Field description or a help text, which will be displayed when users will hover on it with the cursor.
Created fields can be enabled or disabled, depending on the webmaster's needs.
Field behavior settings allows you to make fields compulsory(or not), impose valid data, use the field in search forms and set an ordering (amongst other custom fields) in the forms they are displayed in.
After setting relevant field data, save the field and then add Options Values if the field requires them.
If desired, HTML & CSS Parameters can be set; like a HTML Field ID, CSS Class and CSS style attributes.

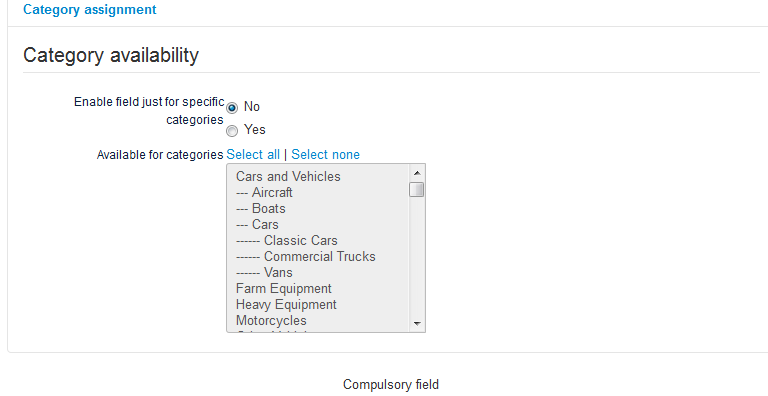
Another great feature is the possibility to list certain fields only in the chosen categories.
To list the field only for some specific categories enable the option and click on the categories you wish to make it available for( for selection simply press the "Ctrl" button and simply click on the desired category).
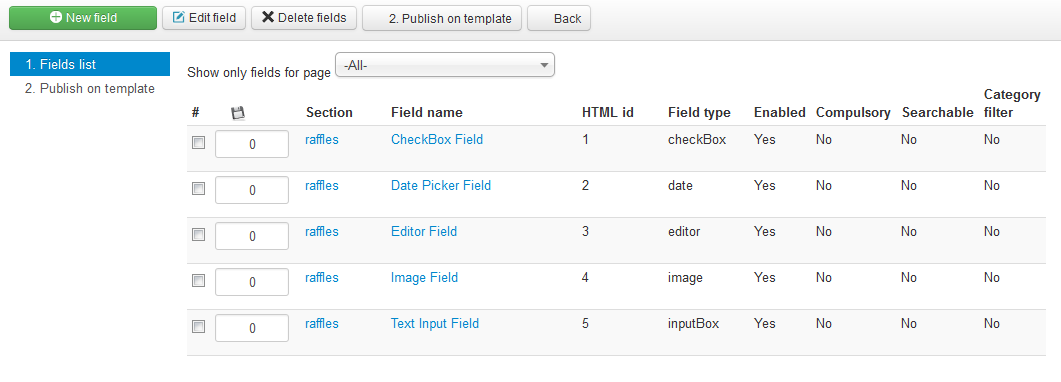
After saving a field, it will be displayed, by default, in the defined section. Attention, the section can't be changed after creating a field.
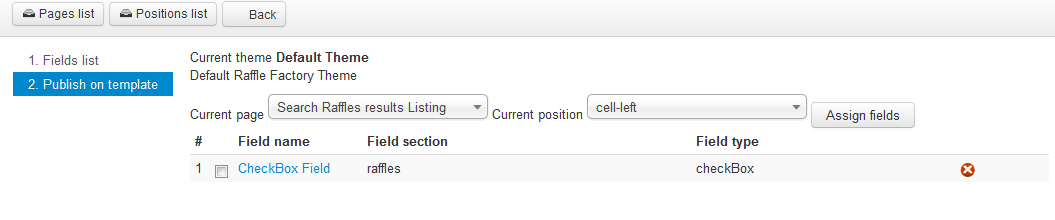
Regarding publishing: if you want the field to be displayed in other areas of the component, you have to also publish it in other templates. The Pages list can be used for guidance as to where to position your fields.
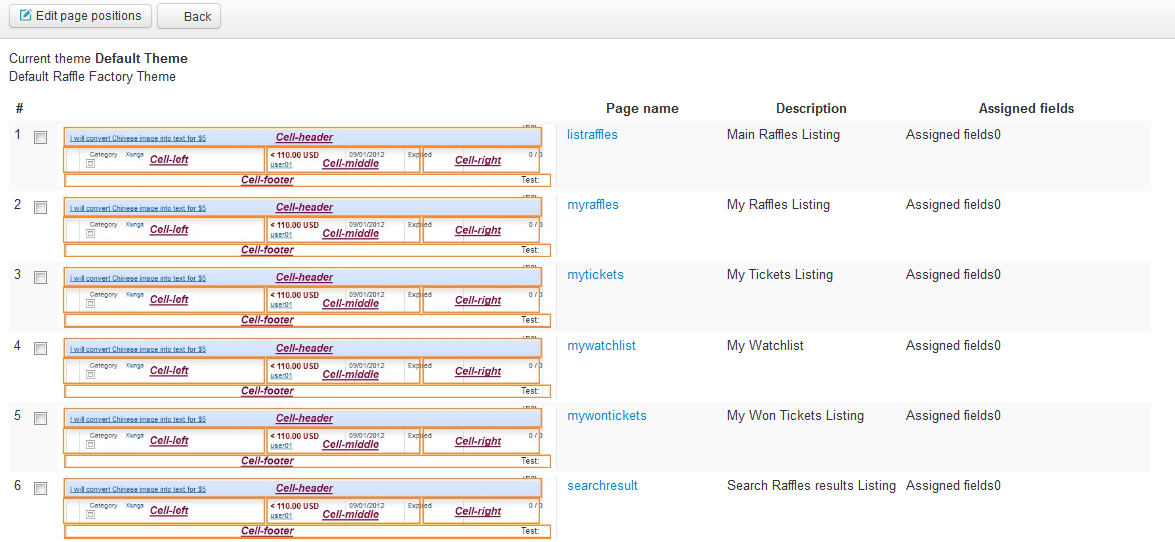
After you decided where to publish your field, click on Edit page positions and choose the page and position on which you wish to publish it on. You can also delete assignments from here. Clicking on a field will take you to the edit field page, where you can edit your field according to your needs.
Click on the Assign fields button to proceed.
Select one or more fields from Available Fields area and move them into Assigned Fields area by using the arrows between the fields.
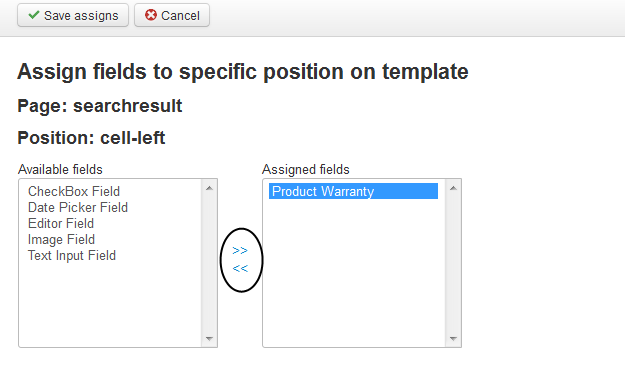
When you are done with the assignments, verify if the field is properly displayed on the frontend.

How to translate Custom Fields
Step 1: Define a language key for your custom field instead of clear text on its Field Label.
In this case we used "COM_AUCTIONFACTORY_PRODUCT_WARRANTY".
This feature is also available for all options related to radio, check-box and drop-down elements.

Step 2: Install the language needed for your website from Extensions/Language Manager.
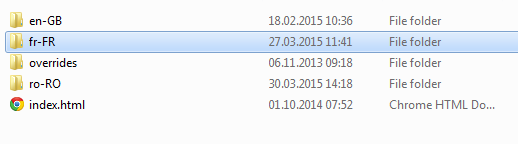
In this case we installed the French language. Upon installing it, a "fr-FR" folder will become available within the "Language" folder of your Joomla installation.
On the "fr-FR" folder you will need to have the fr-FR.com_auctionfactory.ini file which will allow you to assign the translation of your custom field and all the other Auction Factory frontend fields.
This file can be copied from the "en-GB" folder and edited accordingly.
Step 3: Open the fr-FR.com_auctionfactory.ini file and add the proper translation for your custom field, in this case we added COM_AUCTIONFACTORY_PRODUCT_WARRANTY = "Garantie du produit".
This process can be done for all active languages on your website by putting the language key and the related translated value in the corespondent language files.
For editing the language files, we strongly advise to check the following information:
Small Language Files Tutorial
(!) Some differences may exist between components and component versions, this documentation is provided for reference and guidance.