Table of Contents
Installation & Configuration
Pre-Installation Notes
Before you start with the installation, you need to check the following:
- Make sure the maximum file upload size of your server is greater than the size of the component zipped kit. If not, contact your hosting provider.
- Check directory write/read permissions and adjust them accordingly. chmod for UNIX, Windows ACL for Windows. Or contact your hosting provider.
- If you intend to use the Community Builder integration, install Community Builder before Wall Factory to avoid manual installation of the Wall Posts Tab and Plugins for the Community Builder user profile.
- Always backup your website before installing, updating or uninstalling extensions!
Installation
To install Wall Factory you will need a working Joomla 3.x.x installation. It is recommended to have the latest version of both Wall Factory and Joomla for them to work properly.
Go to Extensions/Manage in the upper menu of Joomla's backend to start the installation process of our component.
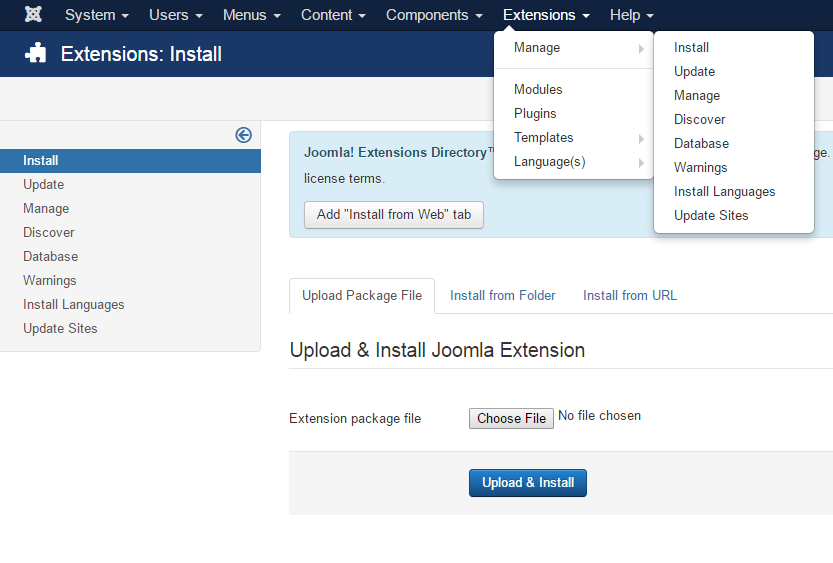
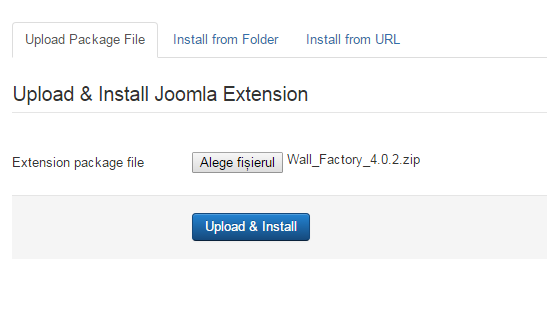
Proceed by clicking on the Browse… button from the Upload Package File area and by choosing the ZIP file from your computer. After doing so, click on the Upload & Install button to start the installation.
If you encounter any server limitations when installing the extension due to the PHP settings, you can use the "Install from folder" option as follows:
Unzip the package file and copy the address of the destination folder.
Go to Extensions/Extension Manager in the upper menu of Joomla's backend, choose Install from folder option and paste the address of the destination folder.
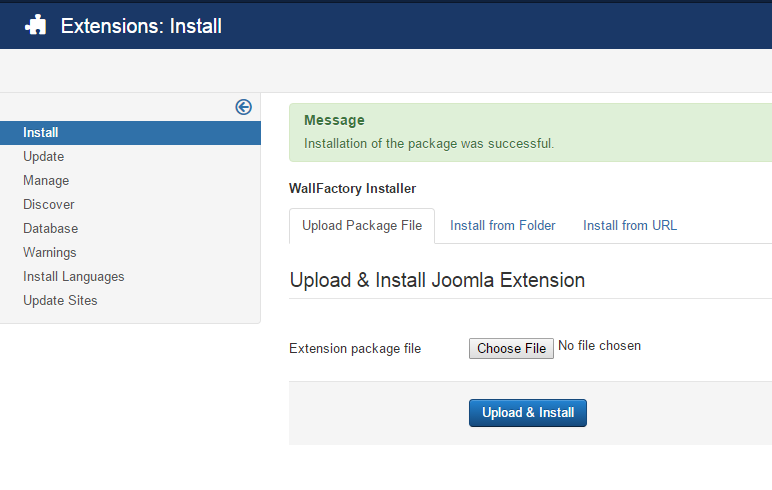
When the installation is completed, the following message containing important install notes and other notifications should appear.
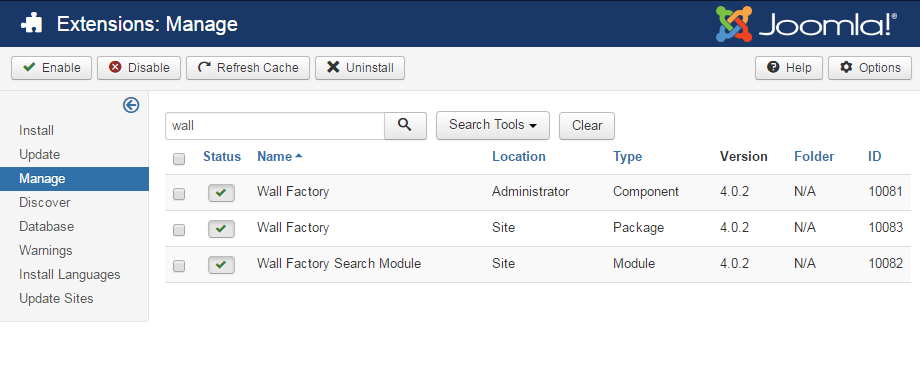
In case you wish to uninstall the component, simply go to Manage, check the Wall Factory component and click on Uninstall.
Configuration
While being free to download and free to use, Wall Factory comes with a variety of features and settings, all these having no restrictions whatsoever.
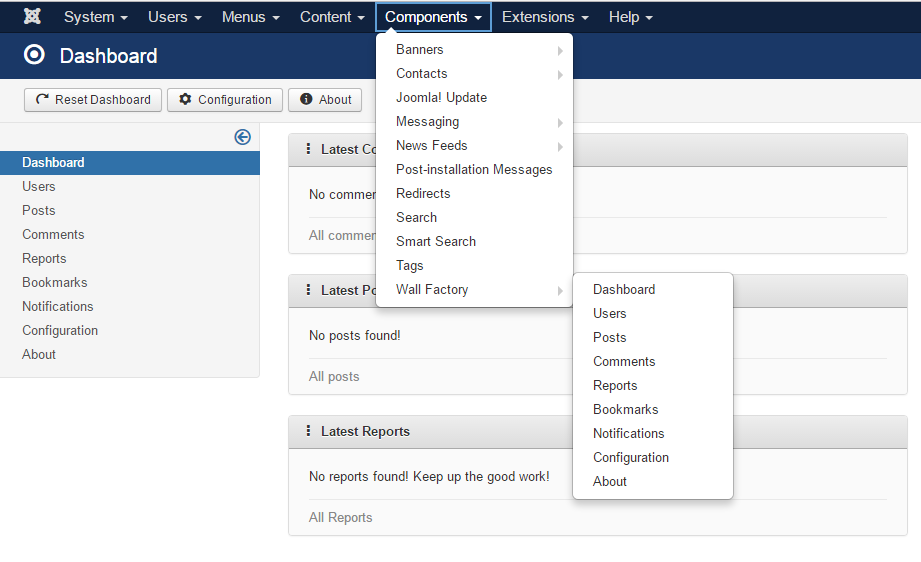
Go to Components/Wall Factory/Configuration to view all the settings and to configure your component.
General Settings
In the General settings area, users can enable or disable different featured if Wall Factory.
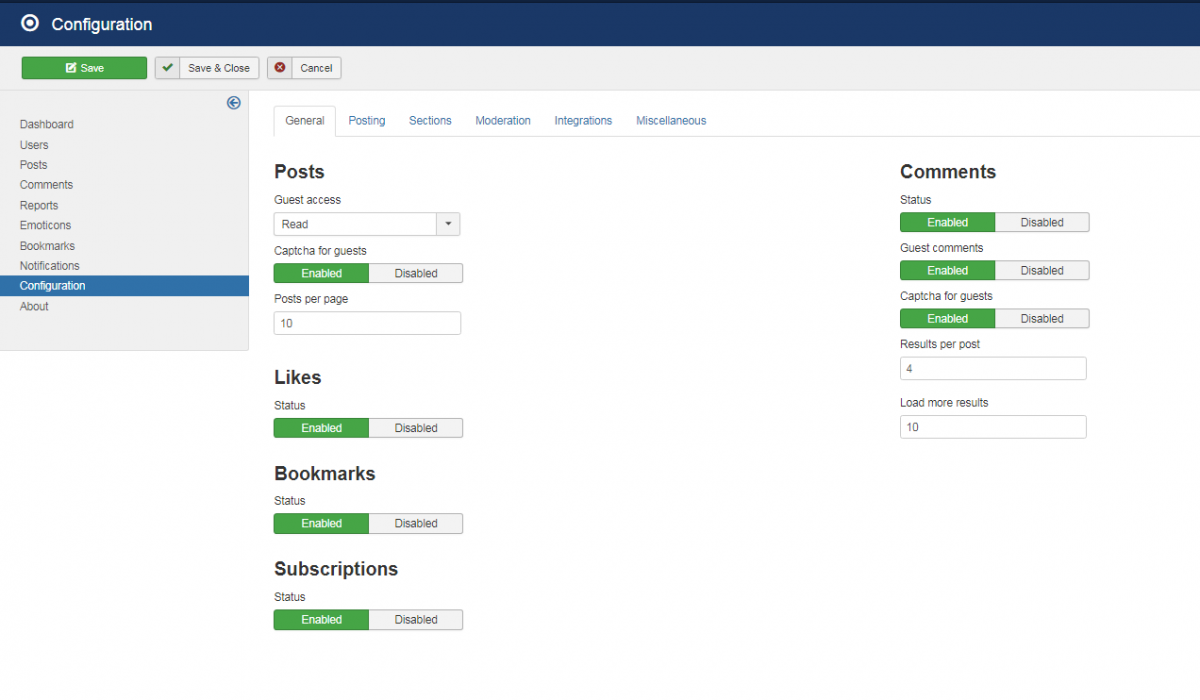
Posts
Select the access guest have when it comes to posts. You can select between having no access at all, reading only or reading and writing.
Likes, Bookmarks and Subscriptions
You can easily Enable or Disable them by clicking on the preference that you opt for.
You can Enable bookmarks, which will allow users to share wall posts on various community websites such as Facebook, Twitter or Reddit. To manage these websites go to the Bookmarking page.
Comments
As for the previous features, you can also choose whether Comments are enabled or disabled.
Furthermore, set whether Guests can post comments or not, followed by the number of comments each post has.
Also, you can enter the number of comments to be displayed when pressing the Load more results button.
Select if Captcha is enabled for guests.
You must enable and configure the Default Captcha option from Global Configuration in order for this feature to work.
If there are no options when choosing the default captcha, you must enable the Captcha - ReCaptcha plugin, where you will also have to set the Public and the Secret Key.
Posting
With Wall Factory users can attach a variety of types of media to their walls:
- Image files (".gif", ".jpg", ".jpeg", ".png")
- Embedded Video
- Mp3 files
- URLs
- Regular files (".doc", ".txt", ".pdf")
This section allows you to enable/disable each available type of media. In case image files are enabled, you can set the maximum width and height of them, keeping a pleasant aspect of your website.

Emoticons
You can now incorporate emoticons into your posts. Enable emoticons to be able to do so.
Links, Audio Media
You can enable or disable if users can post these features or not.
By putting a number into Limit you enter the maximum amount of links/audio files that can be submitted.
Documents
Select whether this feature is enabled or not.
In the Allowed file extensions you have to enter (separated by commas) the allowed file extensions for the document.
By putting a number into Limit you enter the maximum amount of documents that can be submitted.
Videos
Select whether this feature is enabled or not.
The Lazy load button helps you improve your pages rendering performance, by making them lazy loading and, thus, loading only the thumbnail first.
You can choose between these 3 options:
- Disabled: This feature is not enabled.
- On view: The video will be loaded when the thumbnail is fully in the user's view.
- On click: The video will be loaded when the user clicks on the thumbnail.
Photos
The Resize to height and Resize to width buttons give you the possibility to enter (in pixels) the height/width to resize the photo to.
Keep in mind that if the height/width is greater than this value, the resizing will not happen.
Sections
Here you can Enable or Disable the Newsfeed.

The Results per page under Newsfeed lets you enter the number of posts displayed per page.
The enabling or disabling of the Self removal button decied whether users can remove their own profile or not.
With the Auto fill profile option you can set if users need to manually fill their profile, or their profile is auto filled by Joomla!
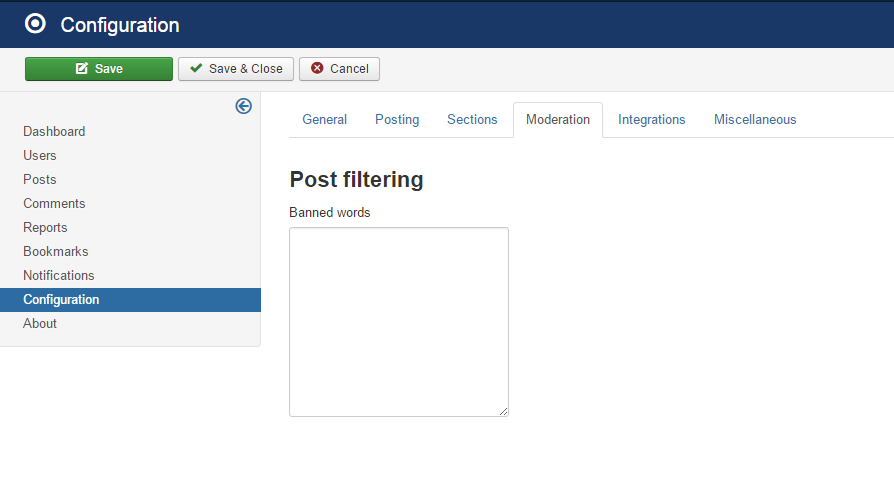
Moderation
To keep your website civilized and without curses and other inappropriate words, Banned words page allows you to ban the respective words by adding them on the available text field. When someone uses any of them, the respective word will become censored.
Integrations
In Wall Factory you can integrate your avatar from Gravatar and Community Builder.

With Enable Gravatar users can set as avatar their globally unique one from Gravatar.com.
In order to integrate the avatar from Community Builder, you will first need to install the Community Builder extension on your local Joomla.
Miscelanneous
Notifications
By enabling this option, you will be notified when a new comment and/or a new post will be added.
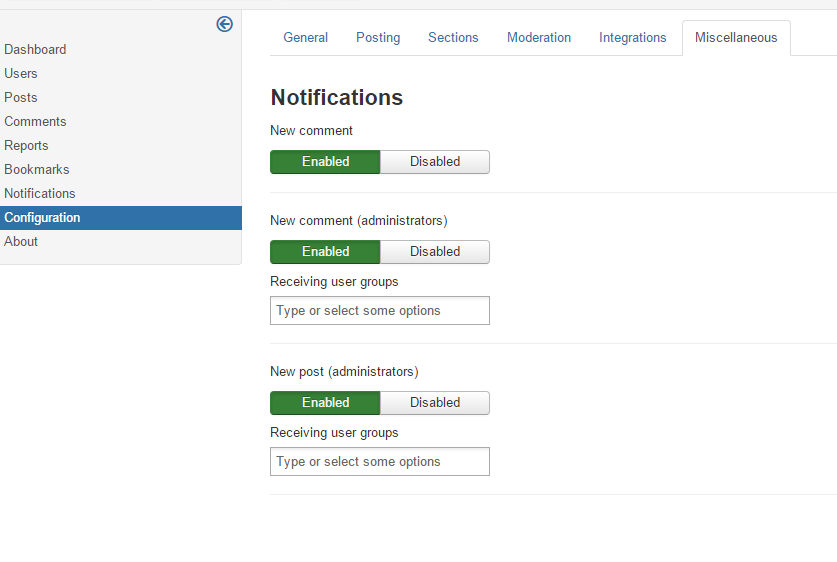
For the administrators New comment notifications, you can select the Joomla user groups that will get notifications.
You can also select the Joomla user groups that will receive the notifications when an admin will post.
Cron Job
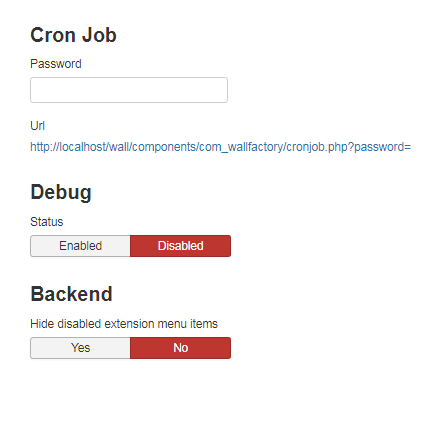
Debug
Select the status for the extension debug.
When debug is enabled, various information will be printed out in the Joomla logs folder.
Backend
Select if the component menu should display entries for disabled features
Example: if the Bookmarks feature is disabled, the Bookmark menu item will not be displayed.
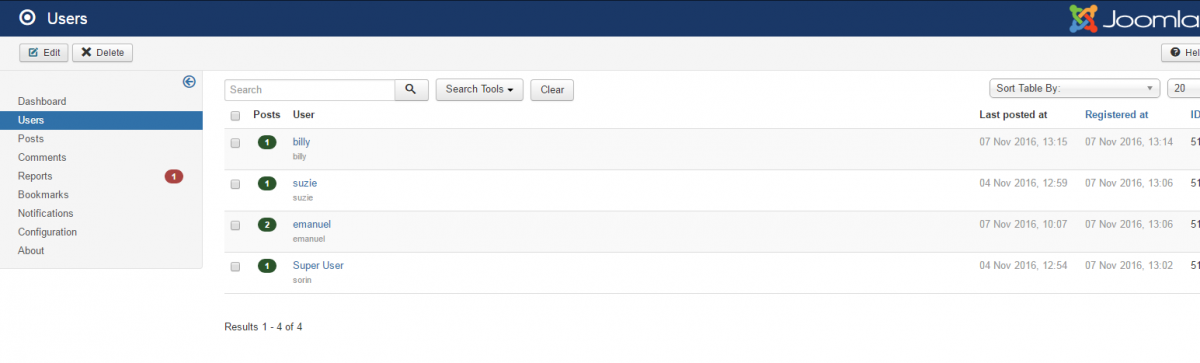
Users
On Users page you will find a list of all the active users from your website with specific information such as the amount of posts, how many media files were shared for each type, their status and more.
Clicking on a digit of a media file type will pop-up a window displaying a list of all those files of that respective user.
In case there are many users listed, a Filter is available where you can search for a specific user by adding keywords.
Other filter options found here are to display only the Banned/Not banned users or by the state of their walls, Published/Unpublished.
Sorting can also be applied by clicking on the row of the columns.
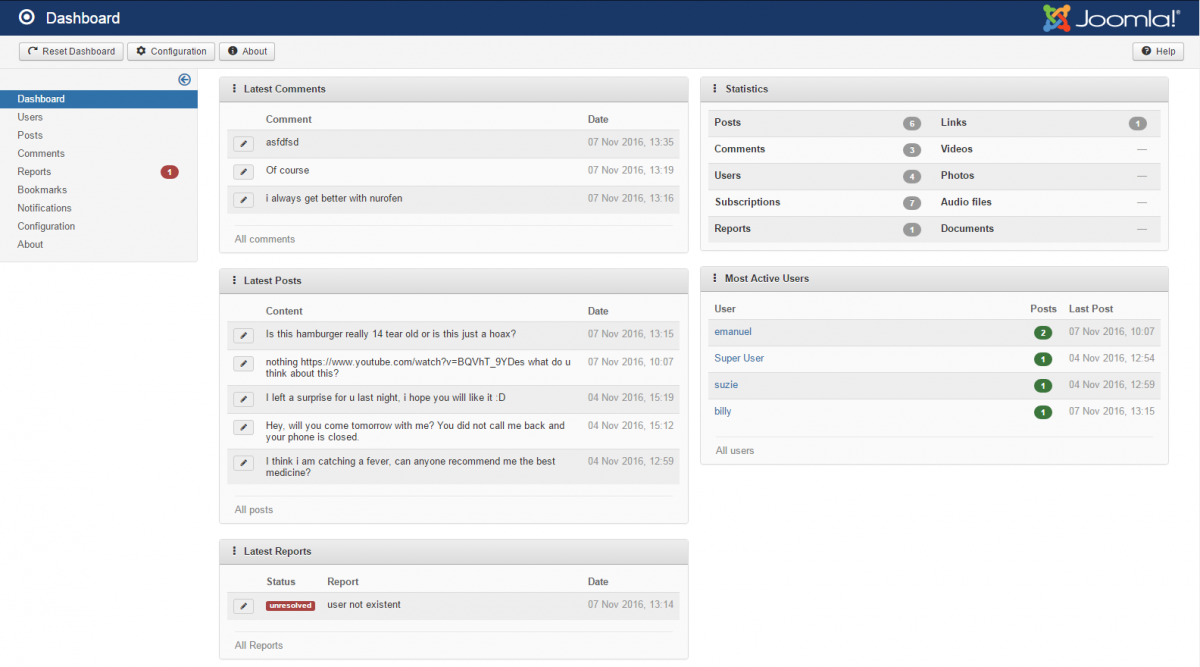
In order to see a more detailed view regarding the activity users, click on Dashboard to get redirected to a page containing listings of latest posts, comments, links, etc.
Clicking on the posted media files allows you to edit their details.
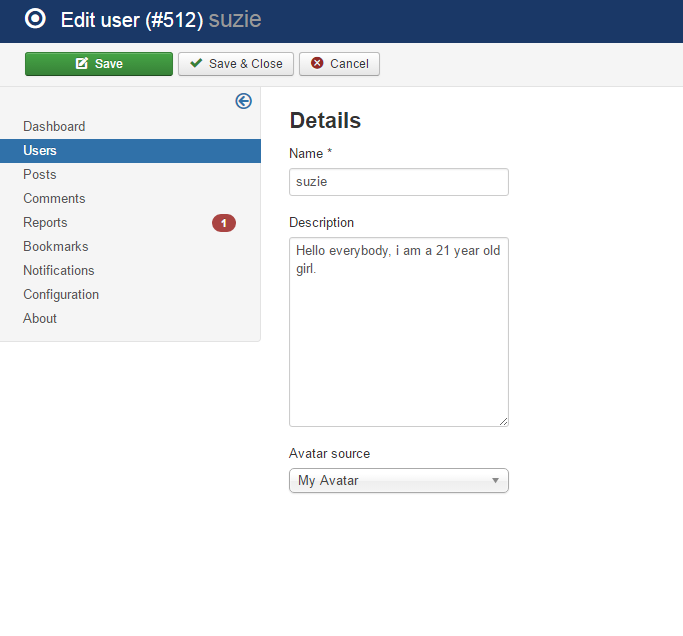
Clicking on an username allows you to edit his wall by changing the name, description or the Avatar source.
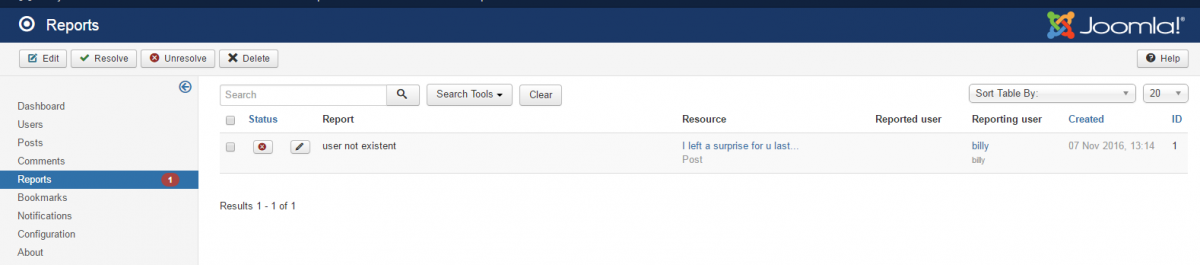
Reports
The Reports page displays lists with the posts and messages that have been reported by users for being offensive.
As an administrator, you can see the reported items and take the appropriate measures by either deleting the posts/comments or the reports.
Emoticons
The Emoticons page displays all available out of the box emoticons, which can be posted within posts.
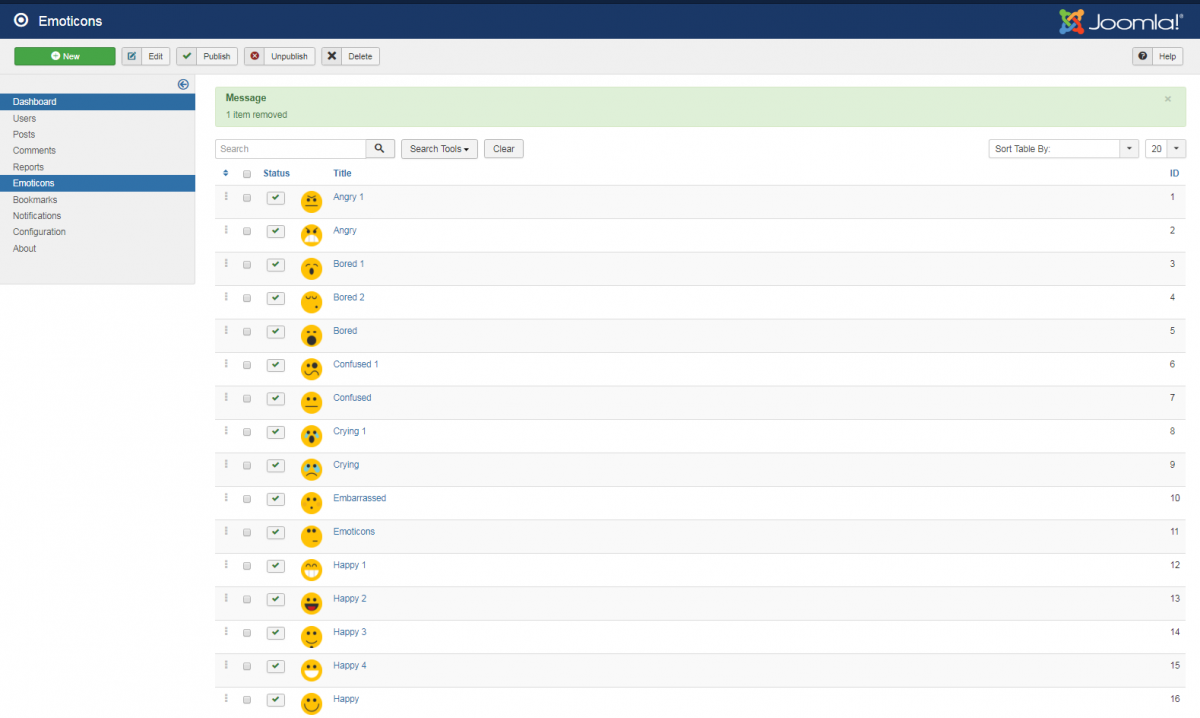
You can add new emoticons by pressing the New button in the top left corner.
Add the Title of the Emoticon and choose an image from your HDD. The extension will automatically resize the image.
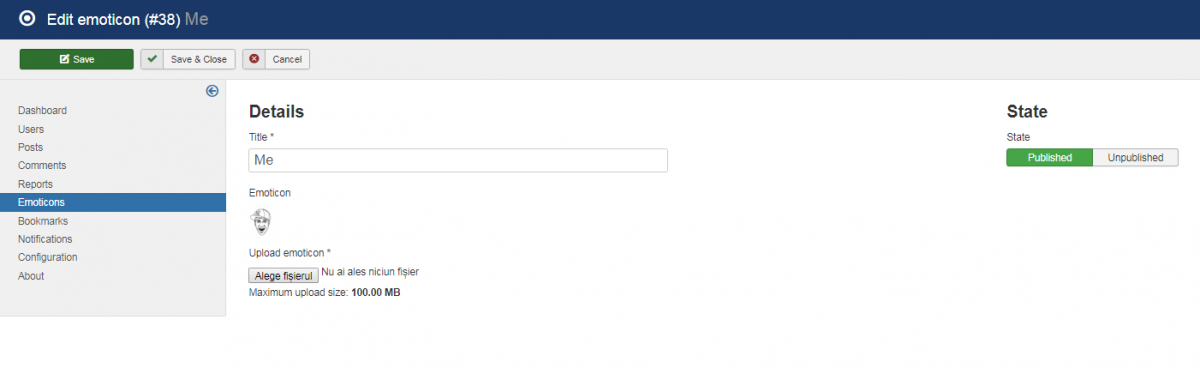
Don't forget to set the emoticon's status to Published. Your new emoticon will be displayed on the list:

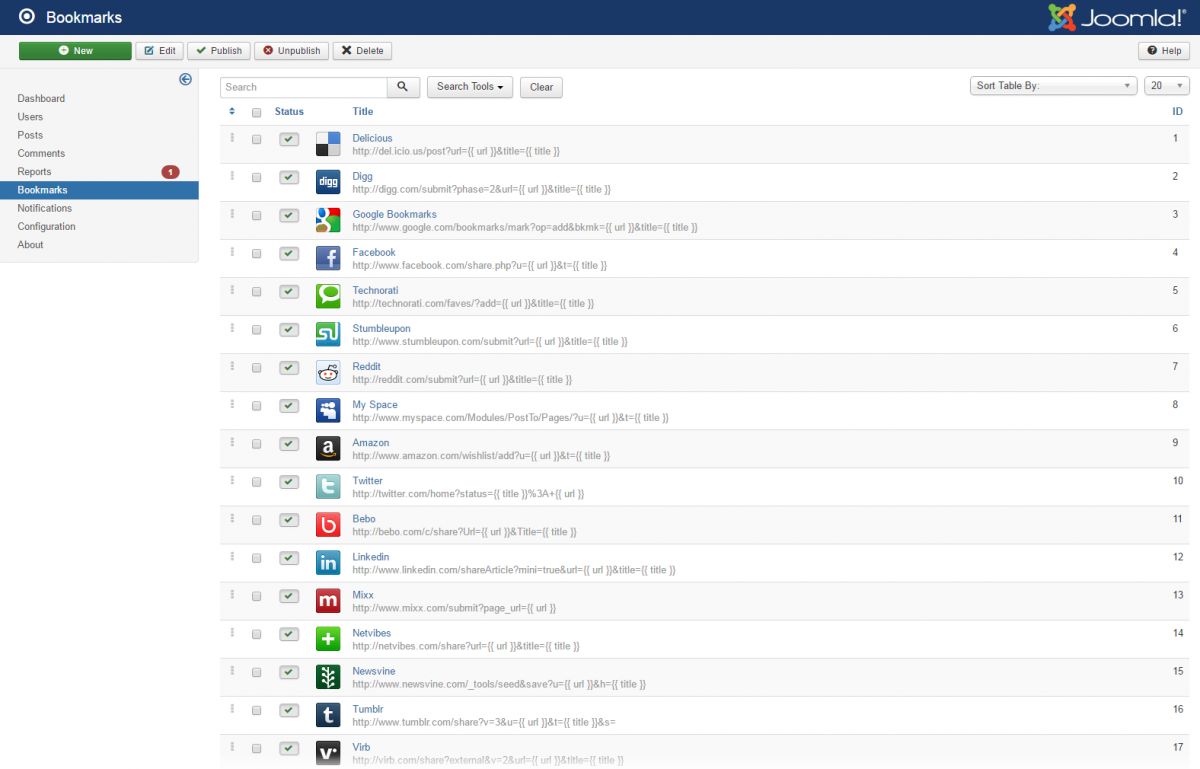
Bookmarking
With our component users are able to share the posts made with all the media files attached to them to various well-known community websites such as Facebook and Twitter or on bookmarking-dedicated websites such as Digg or Delicio.us.
For this feature to be displayed on frontend you will need to enable it first from the General tab.
Bookmarking page is where you can manage the list containing these websites by enabling/disabling them, editing, or adding new ones.
Component Menu
Wall Factory comes with various menu items that can be managed from Joomla's Menu Manager:
- Newsfeed - Displays the wall of the logged in user with all the posts made by him.
- All posts - Displays the public wall, all posts can be found here.
- Profile - Displays the profile of the person that is logged it.
- Subscribers - Displays the people that are following your posts.
- Subscriptions - Displays the people that you follow.
- Wall - Displays the wall of the logged in user, and let's you create a new post.

(!) Documentation based on Wall Factory version 4.0.2